In this design by Deli Dolls, you’ll receive a digital download of a bell-shaped Santa. The iconic red jacket is held tight by the black belt and golden buckle. Around the trim of the bell is the classic white fluff, creating a simple but instantly recognizable Santa Clause design.
In Deli Doll’s creation, you’ll also add an actual bell to the design with a small and hidden “rope” created by yarn.
For the construction, you’ll need a 2.5mm hook, and 100% cotton yard for the red, black, and white. The red areas need 10 yards of yarn while the other two only need 2 yards maxim.
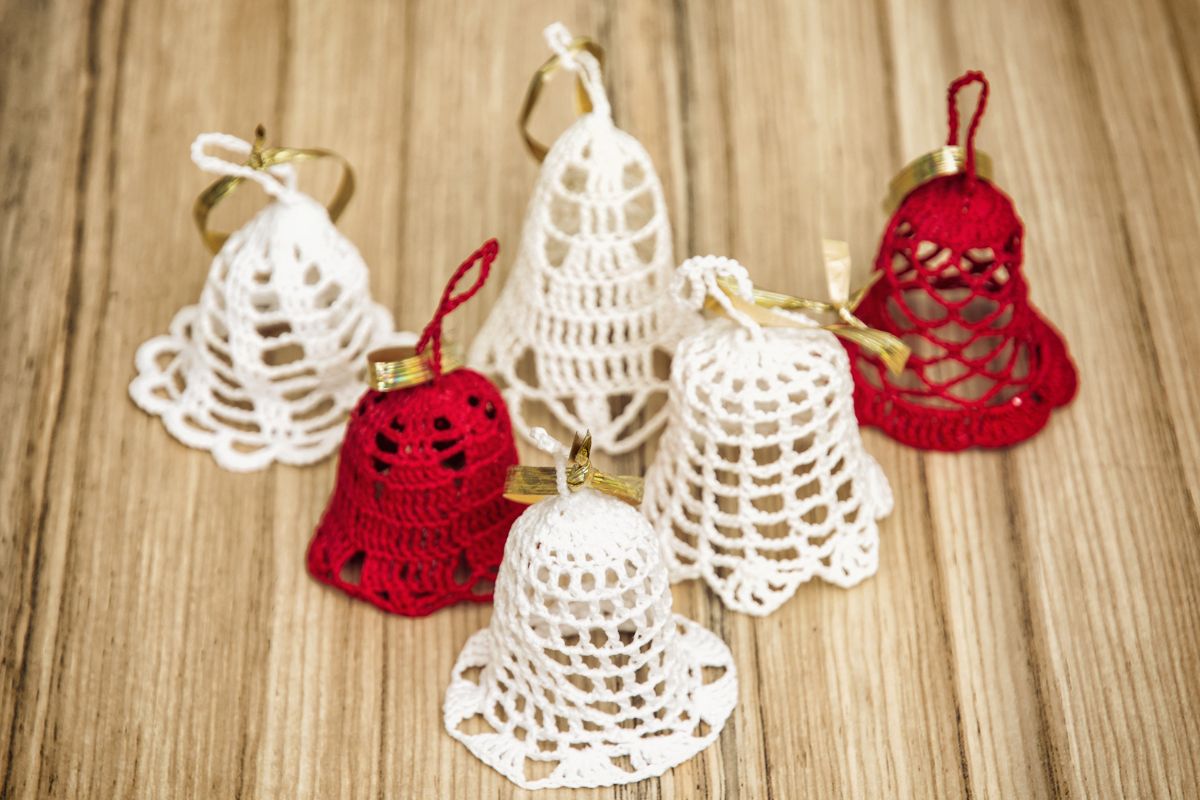
The Santa bell feels cartoony, and if that isn’t your vibe you may prefer a more elegant design. This bell by Home Of Yarns creates a small structure with defined edging lines and a soft lip.
You will need an intermediate level of skill, as some of the instructions skirt past the basic stitches, expecting you to know how to complete them already.
Home Of Yarns doesn’t use a specific yarn for the bell, instead, they make it using old scraps. This means it doesn’t matter what thickness you currently have, they should all work.
This bell by Zoom Yummy is easier than the others. The color palette is simple with only one color change at the very end.
To make the bells even simpler, the 12-page instructions also come with a photo tutorial so visual learners can follow the directions with ease. There are 26 pictures in total, with one per step.
The design is beginner friendly, and you can even sell the products from the pattern!
The traditional Christmas bell that we see on neon signs, lit up along the streets, and molded into chocolate isn’t 3D, and yet the first 3 designs we have shown you are.
If you were hoping for a classic bell design, then follow this concept by Stitch Bright Studio.
The pattern is easy and suitable for beginners, and the design can be created with any yard or hook.
When you buy the pattern, you’ll also be given a step-by-step video tutorial to help you along the way.
Just like Zoom Yummy, Stitch Bright Studio doesn’t mind if you sell your creations, as long as you credit them with the design. This means you can spend an afternoon crocheting a collection of bells ready for a local fair.
This next pattern is for the tiniest bells in history. The size of a thimble, these delicate bells can be added to babies’ clothes, hanging designs, or your Christmas tree.
Despite their tiny size, the pattern isn’t considered difficult. We would call it easy.
The shape is designed to look like tulips, and from the lip of one end to another, you can expect a width of 1 inch.
We recommend making at least two of these bells, as they look better as a pair than by themselves. This is just a matter of opinion though, so have fun either way.
Lace By Luba suggests using a tulip crochet hook of 1.1mm and cotton yarn of size 10.
Many of us already have a large number of ornaments ready to put on the tree, so instead of creating another trinket to get lost in the collection, make a garland instead.
Of course any of the bells already suggested could be turned into a garland with a couple of tweaks, but Hugles have designed a pattern specifically for this concept.
The pattern is considered beginner friendly, and it comes with step-by-step instructions. The instructions also include pictures to make the creation easier.
Play around with colors, following the classic gold and silvers or red and green.
Our last design will create a vintage aesthetic. To make the aged coloration you can buy yarn designed to look older or use the coffee technique to create the illusion of vintage colors.
Jibby Stone is the creator of this design. They have very clear instructions re-written from vintage crochet books. The quality is great and you will end up with a delicate design.
There are no images or videos with these instructions, so we recommend that beginners stay clear of this option.
Final Thoughts
The Christmas bell is an iconic image of the winter season. And yet this well-known symbol is often forgotten in place of angels, stars, snowflakes, and reindeer.
Although some might see this as a lost opportunity, you can use this moment to craft your own bells and create gifts for friends and family that they won’t already own.
Don’t bother about crafting a symbol that is already littering their home. Instead, the humble bell will feel like a breath of fresh air among the stars and lights.
Crochet is one of the most calming and therapeutic crafts out there. It’s a simple dance of stitches, working in rounds, and forgetting the outside world as you create something beautiful.
Hi, my name is Nancy Adriane and I have been crocheting in my free time for almost 10 years.
I first picked up a hook when I was studying in college, stressed and frustrated with the pressures put on me by people around me. The workload got too much, and I desperately needed an outlet.
I tried everything – socializing, cooking, watching TV… nothing helped with the stress. I was too anxious to read a good book and quickly lost hope of keeping on track for the school year.
Enter, crochet. I fell in love as soon as I saw my holey, bobbly hat that I made on a whim. It was too loose to be warm, but I wore that hat every day the entire winter until I learned to make something of higher quality.


")

")

")