Regardless of whether you’re currently learning how to crochet and you want to challenge yourself with making a pot holder, or you would simply like to make one as a gift – just keep on reading to learn more about how to crochet a pot holder here.
What Is A Pot Holder?
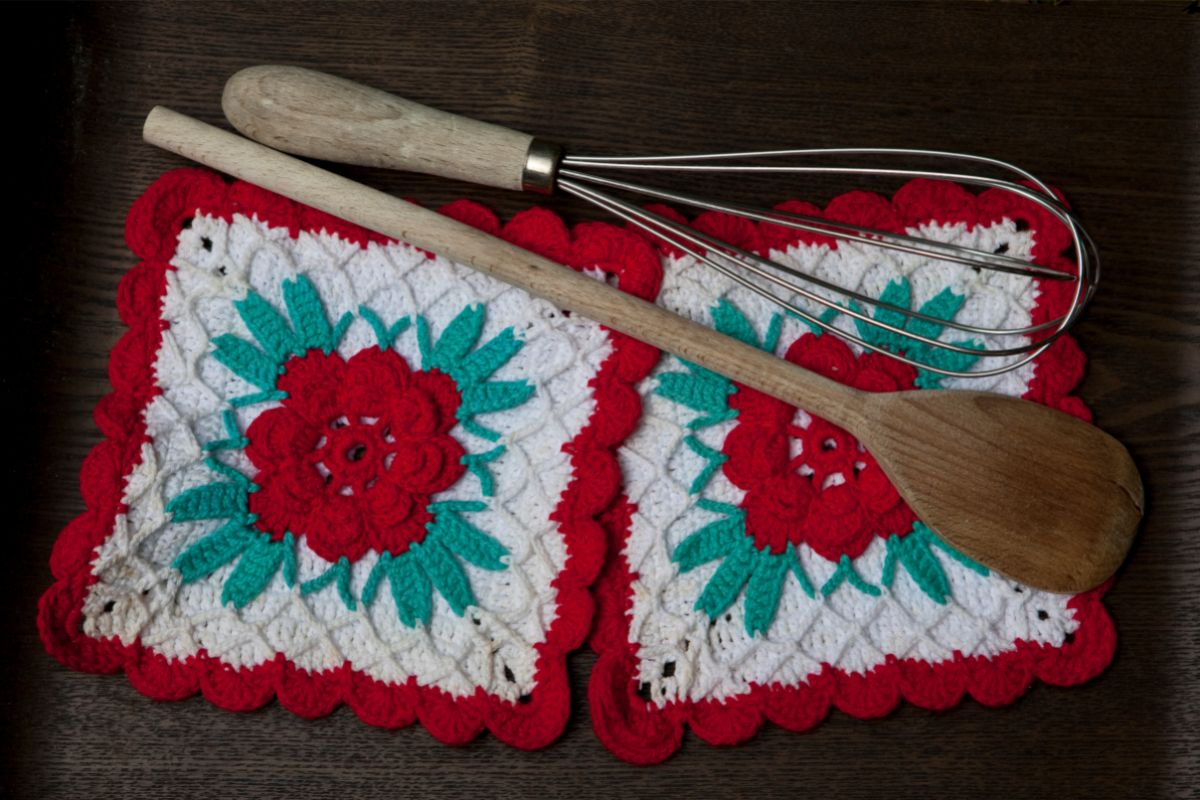
Regardless of whether you are new to crochet and want to challenge yourself to a new project, or you’ve simply got a bit of old yarn left that you don’t want to waste – a crochet pot holder is sure to be useful.
Besides providing you with the opportunity to hone your crochet skills, a pot holder can be used to help protect you from pots and pans, too!
In order to make one, you’re going to need to make sure that you are already able to make a chain and a single crochet.
So long as you have mastered these two techniques, you should find that you are able to make a thick square (a pot holder) that you will then be able to use to keep you protected from pots and pans or even give as a lovely gift.
How To Crochet A Pot Holder
As we have already mentioned above, a pot holder is a relatively easy crochet item to make.
Still, regardless of whether you have been learning how to crochet for quite some time or you’re a keen beginner – you’re going to want to make sure that you are following the correct instructions to ensure that you do not make any mistakes.
Below, let’s go ahead and take a look at some of the general guidelines you can follow when making a pot holder for the very first time. Let’s take a look at them below:
Choose The Yarn
First things first, when wanting to make a pot holder, you are first going to need to begin by deciding which type of yarn you would like to use in order to make it.
For the best results when making a pot holder, we recommend that you opt to use a 4-ounce skein of worsted weight yarn.
Top tip: We recommend that you avoid using any acrylic-based yarn, as acrylic yarn can melt when it has been exposed to hot temperatures, including hot pans!
Make The Slip Knot
After you have chosen which yarn you would like to use, you can then go ahead and proceed to make a slip knot. In order to do this, all you are going to need to do is simply pull the length of yarn and then twist an end into it.
After you have done this, go ahead and take your thumb and forefinger to make the yarn tail, and gently pull in order to close the loop around the yarn tail.
After you have done this, all you are then going to need to do is simply attach the knot to the crochet hook so that you will be ready to use it.
Create A Foundation Chain
When you’re ready, go ahead and take the yarn that has been attached to the skein and wrap it around the crochet hook you are using one time.
Then, bring the hook through the loop and you will have made one chain. We recommend that you repeat this another 34 times in order to create a foundation chain of 10 inches.
This will then serve as the bottom edge for your pot holder.
Make A Single Crochet Into Your Foundation Chain
After you have made the foundation chain, you can then go ahead and make a single crochet into the foundation chain you have made.
To do this, insert your crochet hook into the chain stitch nearest to the hook and wrap it around the yarn once.
Then, go ahead and bring the hook back into the chain so that you will have two hoops on the hook, before proceeding to wrap the yarn around the hook one more time (remembering to pull the hook through the two hoops you have made) in order to create a single crochet stitch.
Create Two Single Crochet Stitches To Make a Corner
After you have finished making the chains, you can then go ahead and make a single crochet stitch to complete a corner.
All you will need to do is simply insert your hook into the chain stitch you have used to make the single crochet stitch and make one additional chain stitch. This will make a slight curve that will serve as the corners.
Single Crochet Until Your Pot Holder Is 20x23cm Square
Now, all you are going to need to do is single crochet all of the stitches that you have already made along the side of your foundation chain.
In order to do this correctly, you will need to make a single crochet stitch into the back of each stitch in the foundation until you reach the end of each row.
If you’ve followed the instructions above, this will mean that you will need to do this 35 times.
After you have done this, all you are then going to need to do is continue to single crochet back and forth until your pot holder is at least 20x23cm square, which works out to 8×9 inches.
By doing this, you will be ensuring that your pot holder has two layers of fabric that will make sure that you have a thick potholder that will be able to withstand regular use and exposure to high temperatures from the pots.
Wrapping Up
Now that you have read through our guide above, we are hoping that you now have a much clearer understanding of how to make your very own pot holder.
Thanks for reading, and we hope that you have fun making your own pot holder!
Crochet is one of the most calming and therapeutic crafts out there. It’s a simple dance of stitches, working in rounds, and forgetting the outside world as you create something beautiful.
Hi, my name is Nancy Adriane and I have been crocheting in my free time for almost 10 years.
I first picked up a hook when I was studying in college, stressed and frustrated with the pressures put on me by people around me. The workload got too much, and I desperately needed an outlet.
I tried everything – socializing, cooking, watching TV… nothing helped with the stress. I was too anxious to read a good book and quickly lost hope of keeping on track for the school year.
Enter, crochet. I fell in love as soon as I saw my holey, bobbly hat that I made on a whim. It was too loose to be warm, but I wore that hat every day the entire winter until I learned to make something of higher quality.


")

")


