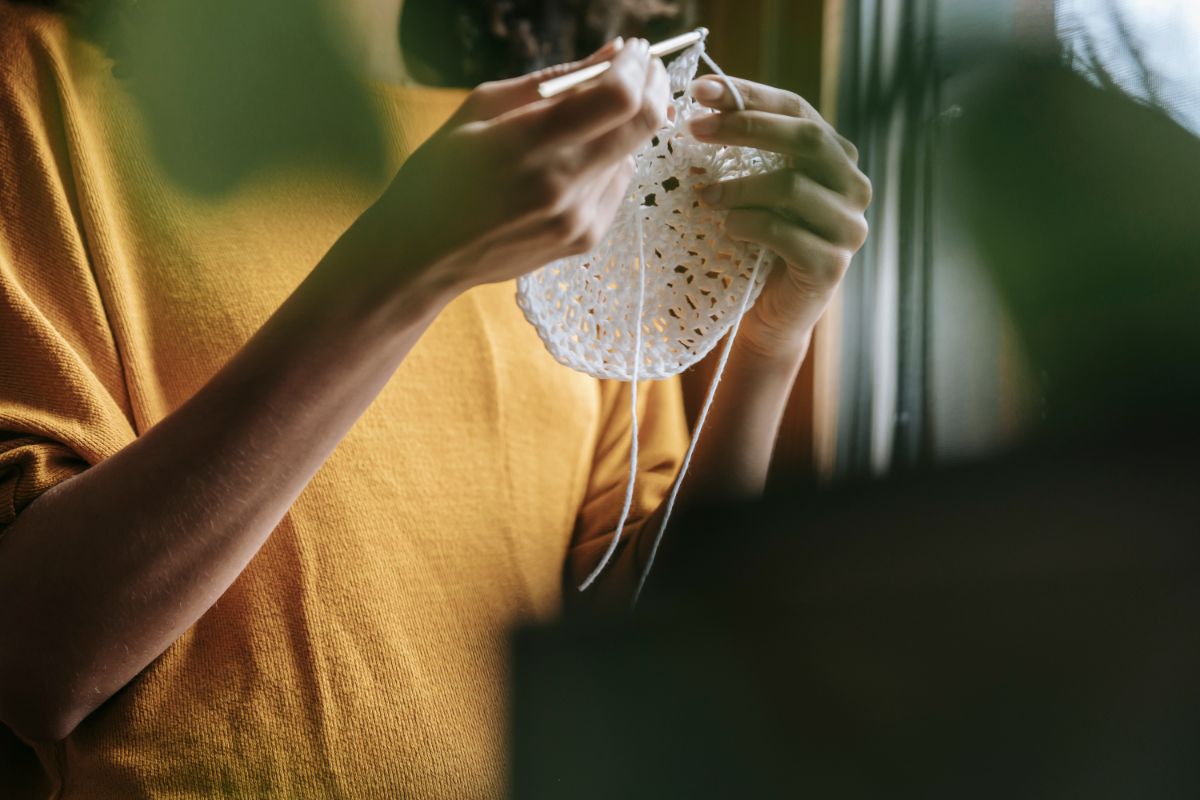
As soon as you’ve got a couple of stitches under your belt, crocheting a circle will almost certainly be the first challenge you apply your crafty new skills to, but although it sounds like a relatively simple undertaking, keeping it flat and frill-free can actually be infuriatingly tricky.
That’s not to say that you shouldn’t feel proud of your wavy, wonky, wobbly circles, because you absolutely should.
They may be a little rough around the edges, but they’re your first yarn babies, and they’re worthy of your love.
However, with the circle acting as the foundation for so many different patterns, it pays to get this technique down to a fine art.
Think of it this way… anything built on a shaky foundation will also be shaky, while structures built on a sound foundation will stand strong and look great.
So let’s put the flat circle under the microscope and prepare you for success in all your future crochet capers!
What Items Start With A Crochet Circle?
Pretty much any item with rounded parts will start life as a flat circle — We’re talking bags, tea cozies, face scrubbies, coasters, hats, appliques, amigurumi animals, and so, so much more.
With this in mind, it’s essential to master the way of the flat circle before moving on to any other more complicated techniques.
Why Are My Crochet Circles Curling At The Edges?
There are a few possible reasons for a curly circle, the most common of which is an imperfect number of stitches in your first round, but if you’re following pattern instructions to a tee and still ending up with the dreaded ruffle, it’s your gauge holding you back.
We’ll discuss how you should go about deciding on the number of round 1 stitches you should use for each common stitch type in a moment, but if your gauge is the issue, here’s what you need to do…
Double check what the pattern designer suggests you use then whip up a gauge swatch in order to get to the bottom of this curly conundrum.
Usually, all that’s required is simply sizing up or down to the next hook in sequence.
Crocheting Flat Circles: The Formula
We’re going to get into the nitty gritty shortly, but I thought I’d preface our journey with a quick guide that lays out what we’ll be doing in very simple terms.
The reason I’m giving you the formula right here at the beginning of the guide is that it’s universal, by which I mean that it doesn’t matter what stitch you’re using, this golden formula will help you attain a perfectly flat circle — Hooray!
It looks a little something like this…
Establish your ring (to do so, use either the magic ring (mc) method or chain method)
First round — Crochet the appropriate number of stitches, which will be determined by your stitch of choice (see below)
Second round — Work two stitches into each of the stitch spaces established in your first round, otherwise known as “increasing”.
Third round — Take turns working a single stitch and then working in two stitches into the stitches of the second round, i.e. single, increase, single increase, all the way around.
Fourth round — Take turns working two stitches then increasing.
Fifth round — Take turns working three stitches then increasing.
Sixth round — Take turns working four stitches then increasing.
Ad infinitum — Rinse and repeat until your circle is big enough to move onto the next stage of your project.
Stitch Type & Starting Stitches
I’ll get into the math behind figuring out how many stitches you’ll need to begin with when crocheting a flat circle, but to save those who aren’t looking for headache-inducing flashbacks to their school days, I’ll provide some quick rules of thumb to begin with.
Simple, right? But the problem with general rules of thumb is the “general” part. The above stitch counts are just guidelines. Factors such as your tension can render them somewhat inaccurate.
You may find various sources that give you slightly more leeway with the stitch range of each stitch type, but in my personal experience, if you want to keep your circle nice and flat, the ranges I have provided are what you should be aiming for.
Why You Can’t Trust Completely Trust My Ranges
As mentioned above, your tension style will throw off these general guidelines, but tension’s not the only thing to worry about.
Everything from your choice of yarn to the hook you’re using will have an impact on your ideal starting stitch count, which is why I’d suggest looking over my more comprehensive, mathematical approach below.
Flat Crochet Circle: Crunching The Numbers
Okay, with the generalities covered for those looking for a quick checkout, we can dig into the juicy math behind the rules of thumb.
By learning how to figure out for yourself how many starting stitches you need based on your gauge, you’ll unlock your ability to fine-tune your project to variable tensions.
In order to understand the numbers behind the stitch count, I’ll be referring to four mathematical concepts:
Diameter: The width of a circle at its widest point (abbreviated as “d”)
Radius: Half the diameter of a circle (abbreviated as “r”)
Pi: The most delicious number… 3.14
Circumference: The total measurement of the circle’s perimeter. It can be calculated using either one of the following formulae — Pi x d, or, 2Pi r.
Here’s how these concepts work in action for a single crochet stitch:
Step 1 — Calculate your stitch height using a gauge measurement. For the sake of the example, let’s say that our gauge is 20 stitches/rows over 10 cm, meaning every stitch is 0.5 cm wide and tall.
Step 2 — Assuming our circle is going to be 5 rounds large, the diameter would be equal to 10 rows, meaning our diameter will be 10 x 0.5 cm, which would give us 5 cm.
Step 3 — Next up, we need to figure out our circumference by taking the diameter (5cm) and multiplying it by Pi (3.14): 5 x 3.14 = 15.7 cm
Step 4 — With the circumference figured out, we can now calculate how many stitches we need to form the perimeter of the circle, and we can do so by dividing the circumference by the stitch width: 15.7 ÷ 0.5 = 31.4 stitches
Step 5 — Now all we have to do is figure out how many stitches per round we’ll need, which can be done by dividing our total stitches (31.4), by the number of rows we need (5): 31.4 ÷ 5 = 6.28 stitches in each round.
Step 6— We’re almost there! But what are we to do with this fraction of a stitch? Well, simply round it to the nearest whole number, which for us would be 6, meaning to make a flat, 5-round circle with a single crochet, we’d need 6 stitches per round.
How Do You Get From One Round To The Next?
You’ll be using either the slip stitch or spiral method to wrap up a round and move on to the next. Which you go for sometimes depends on the kind of project you’re working on, but it’s mostly a matter of preference.
Slip Stitch Vs. Spiral Method
The big headlining difference between these two row-ending techniques is the presence or absence of a seam.
The slip stitch method will give you a perfectly round circle with a seam, while the spiral method is completely seamless but progresses in a – you’ve guessed it – spiral, meaning it takes more of an ammonite form as you work.
The Slip Stitch
My advice is to use the slip stitch method if your project is going to remain flat, i.e. coasters, scrubbies, round bags with a circular base, etc. Now let’s take a look at how it’s done.
When you get all the way around to your original stitch, thread your needle through it.
Once your needle’s through the stitch, yarn over.
Pull the yarn over loop back through the stitch.
Pull the yarn over loop through the original loop on your hook that was there before you started the slip stitch.
The Spiral
The spiral method isn’t as common as the slip stitch method, as you have to use a stitch marker to help you remember where the ends of your rounds are, which some find to be a nuisance, but this method certainly has its place in the world of crochet.
You’re best off using the spiral method if you’re making a 3-dimensional project, such as an amigurumi animal, a basket, a hat, etc.
Without a seam, the spiral method can create some pretty slick-looking circles, but remember, it forms an ammonite shape rather than a true circle.
To combat this, I typically just bring things to a close with a slip stitch or two.
It by no means leaves you with a perfectly complete circle, but some prefer this small defect to a seam running throughout the entire circle section of their project.
For the sake of the example, let’s say we’re using a double stitch…
Chain three
Thread your hook through the furthest chain
Yarn over
Pull the yarn over back through the chain
Yarn over
Slide two of the four loops off your hook
Yarn over
Pull the yarn over through both of the remaining loops on your hook
Continue with double crochets in the same chain until you reach your desired starting stitch count(see also: How To Count Crochet Rows)
When you reach the first stitch, apply two double crochets to begin your second round, but before you carry on, now’s the time to introduce your stitch marker.
As per our discussion earlier regarding the formula for crocheting circles, for the third round, you’ll need to take turns using individual double crochet stitches, and doubled up double crochet stitches. And remember to re-fit your stitch marker after completing your first stitch of round 3.
For round 4, you’ll do one doubled up double crochet for every two individual double crochet stitches. For 5, you’ll do one doubled up double crochet stitch for every three individual double crochet stitches, and so and.
Perfect Circle Pattern Example
We’ve covered all the essentials here today, but before we go our separate ways, let’s take a look at a half double crochet circle pattern in an instructional form.
Abbreviated Lingo
Magic Circle = MC
Chain = Ch
Slip Stitch = Sl st
Stitches = Sts
Half Double Crochet = Hdc
Increase (Work two stitches into one working stitch) = Inc
Materials
Some non-fuzzy yarn
Tools
An appropriately sized hook. Consult your yarn label if you’re unsure which hook size corresponds to your yarn weight.
Method
Rnd 1: MC (or preferred alternative). Ch 1. Hdc x 10 in middle of circle. Close round with sl st in top of the first hdc.
Rnd 2: Ch 1. Inc into every round one st with hdc x 2. Close round with sl st in top of first hdc (count should = 20).
Rnd 3: Ch 1. Hdc in same st. Inc hdc in next stitch. Repeat these two steps for the full round. Close the round with sl st in top of first hdc.
Rnd 4: Ch 1. Hdc in same st and next st. Inc hdc in the next st. Repeat these two steps for the full round. Close round with sl st in top of first hdc.
Rnd5: Ch 1. Hdc in the same st and the following two sts. Inc hdc in the fourth st. Repeat these two steps for the full round. Join the round with sl st in the first hdc.
See how we’re just following the formula we discussed at the beginning of this post? Hypothetically, you could follow this formula forever. All you need to do is add one more hdc for every inc hdc as you reach the new round.
Final Thoughts
To the uninformed eye, a small crochet circle may not look like much, but a hell of a lot of effort, learning, and theory goes into that little thing, and regardless of whether it’s perfectly flat or ruffled to the nines, you should be proud of your progress.
However, with the knowledge you’ve acquired here today, you’re all but guaranteed to crochet super flat circles time after time, meaning you’re ready to break ground on your very first full project — Woo!!!
There’s a lot to remember here, and you’re bound to forget bits and bobs, but if you take anything from this guide, it should be the circle formula. Keep this in mind and you’ll go far, crochet kid!
Crochet is one of the most calming and therapeutic crafts out there. It’s a simple dance of stitches, working in rounds, and forgetting the outside world as you create something beautiful.
Hi, my name is Nancy Adriane and I have been crocheting in my free time for almost 10 years.
I first picked up a hook when I was studying in college, stressed and frustrated with the pressures put on me by people around me. The workload got too much, and I desperately needed an outlet.
I tried everything – socializing, cooking, watching TV… nothing helped with the stress. I was too anxious to read a good book and quickly lost hope of keeping on track for the school year.
Enter, crochet. I fell in love as soon as I saw my holey, bobbly hat that I made on a whim. It was too loose to be warm, but I wore that hat every day the entire winter until I learned to make something of higher quality.

")


")


")
")
")
