Learning how to crochet is a lot of fun and one of the most popular patterns to learn is how to crochet flowers! They are super cute and decorative and look great on a lot of different crochet projects.
If you want to learn how to crochet a flower, then check out the guide below!
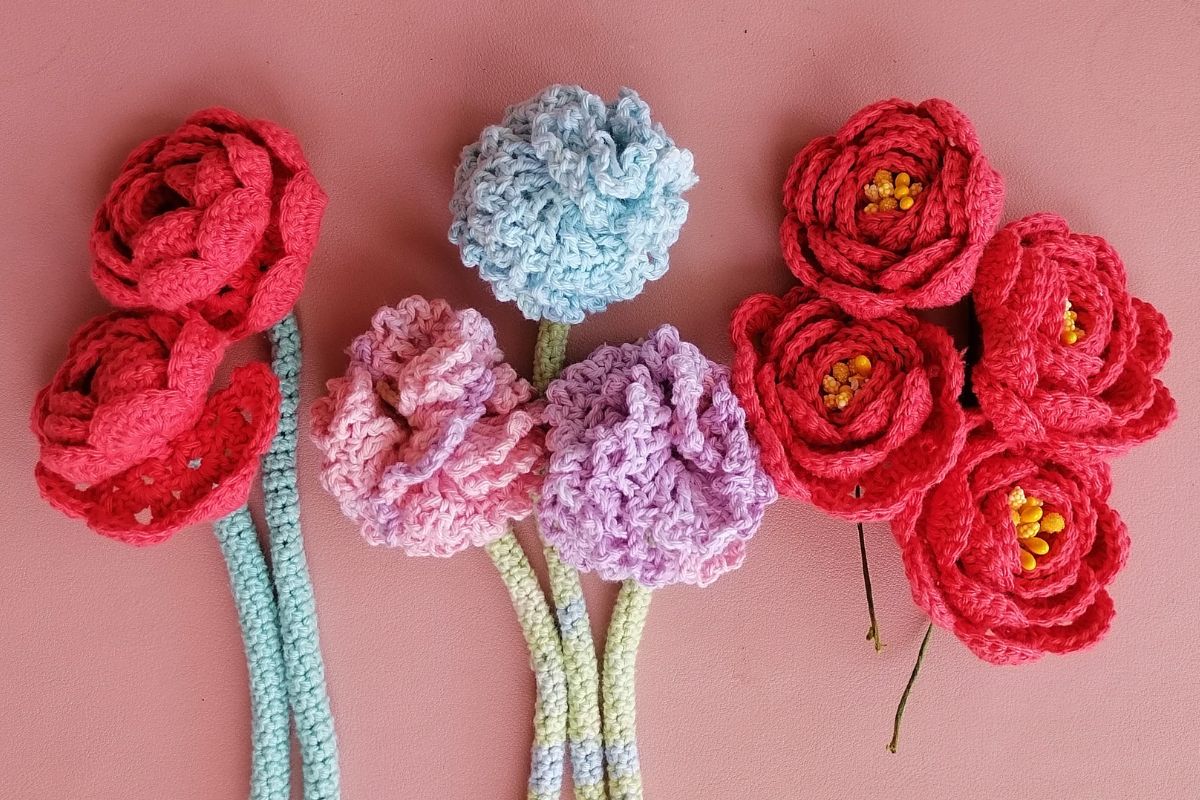
How To Crochet A Flower
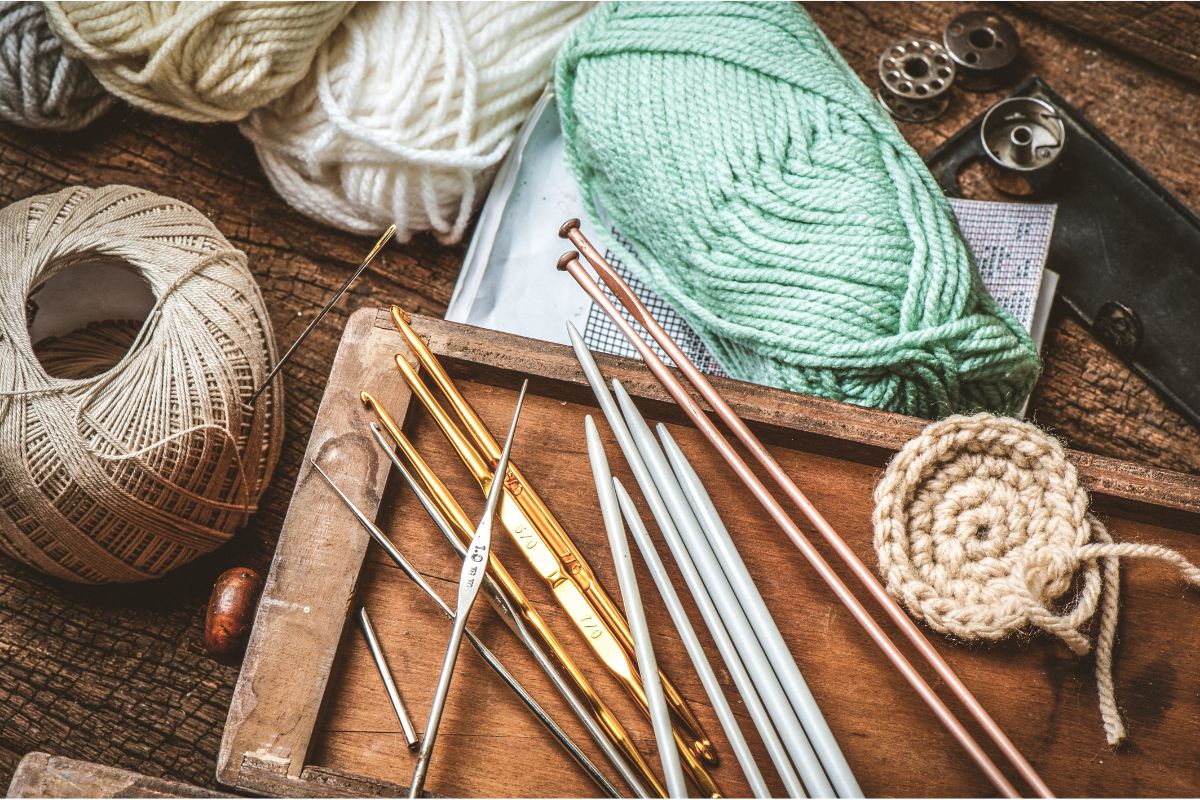
First, you need to get the right tools. For this method of crocheting flowers, we used some light worsted yarn (in any color you prefer) with a size 6 crochet hook.
You may want to keep a few little handy tools nearby too, like a pair of scissors or a yarn needle. Once you have everything ready, it’s time to get started.
To start, you will want to make a magic ring.
Work 5 single crochets into the magic ring. Then, pull the starting tail so it tightens and becomes more circular in shape.
Next, you should chain 1 and then use slip-stitch to join to the first single crochet. This will give you the center of your flower.
Now it’s time to start working on the petals.
Start with a half double crochet, then work 3 double crochet and a single half double crochet all in the same slip-stitch space.
This will give you one complete petal. All you need to do now is repeat this petal pattern 4 more times to give you the rest of the petals – easy!
Once all your petals are complete, you simply finish with a slip-stitch to the chain 1 at the center of your flower. Cut off any excess yarn but remember to leave enough yarn for sewing your flower onto your projects.
And that’s it! You’ve crocheted your first flower!
Other Flower Crocheting Methods
So, you’ve crocheted your first flower but what if you wanted to crochet a certain type of flower, like a rose? Check out these flower crocheting methods for something more difficult to test your skills!
How To Crochet A Flower With Two Colors
Crocheting a flower with two different colors (one for the center, and another for the petals) may look difficult at first but in reality, it is really easy. Just follow the instructions below:
Take your first colored yarn and make a magic ring and then work 10 half double crochet to make the center. Chain 1 and close the ring by pulling on the tail end to tighten the circle.
Now is where you change the color of your yarn. Usually, you would just close the ring with a slip-stitch to the tenth crochet and move on to the petals.
Instead, you slip-stitch your new yarn into the project. Cut your previous yarn free from its ball and tie it with the tail end of your new yarn two or three times.
Don’t go too tight on this tie otherwise you may end up distorting your flower.
For your petals, start with a chain of 2 and add 3 double crochets. Chain 2 and slip-stitch back to the center of your flower to finish your first petal. Repeat this method for the rest of your flower.
When it’s time to connect the last petal to the center of your flower, you may notice the area is a little dense because of the tie. Just find a loop and slip-stitch back in. Finally, cut off your yarn and you’re done!
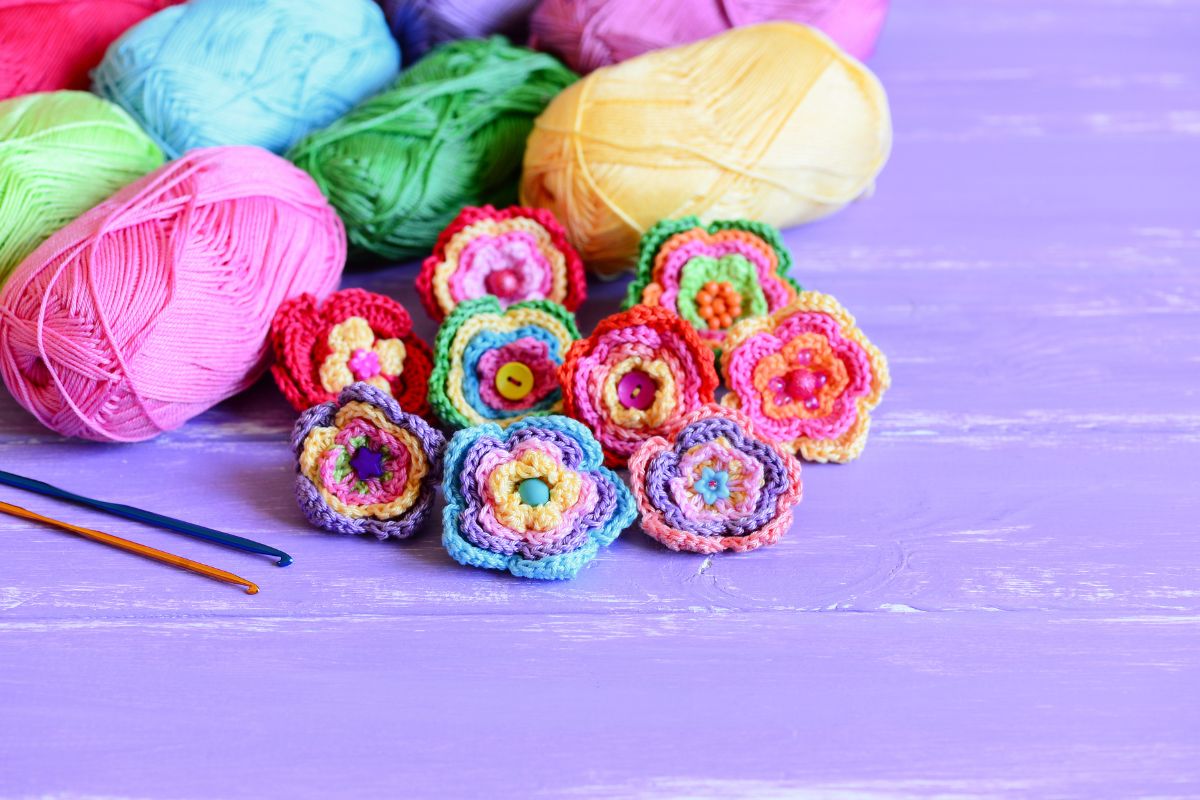
How To Crochet A Rose
Lots of people love roses but some crocheters shy away from this project because it looks tricky. However, a crocheted rose simply looks more difficult than it actually is!
To start, make a slip-knot and insert your crochet hook, tighten the yarn. You now have to make a chain of 26.
Skip the first stitch and work a single crochet into the second stitch. Continue this for all of your 26 chains so you have 25 single crochets.
Remember, you are skipping the first stitch on the chain! The end result will be the base for your rose petals. Turn your work over to start on the next section.
To start your rose petals, add large petals with a double crochet. Again, skip the first stitch and start with the second stitch.
Add 5 double crochets starting with the second stitch for your first large petal. Slip-stitch to complete the petal and repeat the 5 double crochet again for your next large petal. Continue until you have 5 large petals in total.
Next, you will want to make your medium petals. It is the same process except you are using 5 half double crochet instead of 5 double crochet for each petal, and you are making 4 petals in total instead of 5.
Finally, you will start your small petals. This time, you will be using 5 single crochets and making 3 small petals.
Now that your petals are all finished, it’s time to bring them all together to make your rose. Chain 1 and pull the yarn for a 10-inch tail. Cut it and pull tight.
Secure your rose by sewing the long tail through the base of your petals as you form them together to make a rose.
Start with the small petals, wrapping them around a center point, and continue sewing, adding in the medium and larger petals.
Once all your petals are done, secure the last large petal to a medium petal. Snip away your excess yarn to finish!
Final Thoughts
So, that’s how you crochet a flower!
By now, you will have learned how to crochet a single flower, a two-colored flower, and a more complicated rose to add some diverse flowers to your projects.
It’s a super easy and great beginners’ crochet project but it’s a good idea to practice this method a few times to perfect it.
Once you have mastered these easier starter flower patterns, there are tons more out there for you to try so you can make more colorful, crazy crocheting projects! So, practice the above patterns first to build your confidence!
We hope this helped you with your project and enjoy your crocheted flowers!
- 8 Unique Ways To Crochet Letters (Monogram Crochet Inspiration!) - January 16, 2023
- Here’s How To Crochet A Flower (Easy Beginner’s Guide) - January 16, 2023
- 10 Impressive Crochet Sunflower Patterns That Are Easy To Make - January 16, 2023

