If you want to learn how to crochet a triangle, then you’ve come to the right place. Here is an easy guide on how to crochet a triangle!
Check out the guide below and have fun!
How To Crochet A Triangle
If you want to crochet an easy, equal little triangle for your projects, then here’s how to do just that.
This pattern is pretty basic and a great option for beginners. For this pattern, you will want to use a size H crochet hook and worsted-weight yarn.
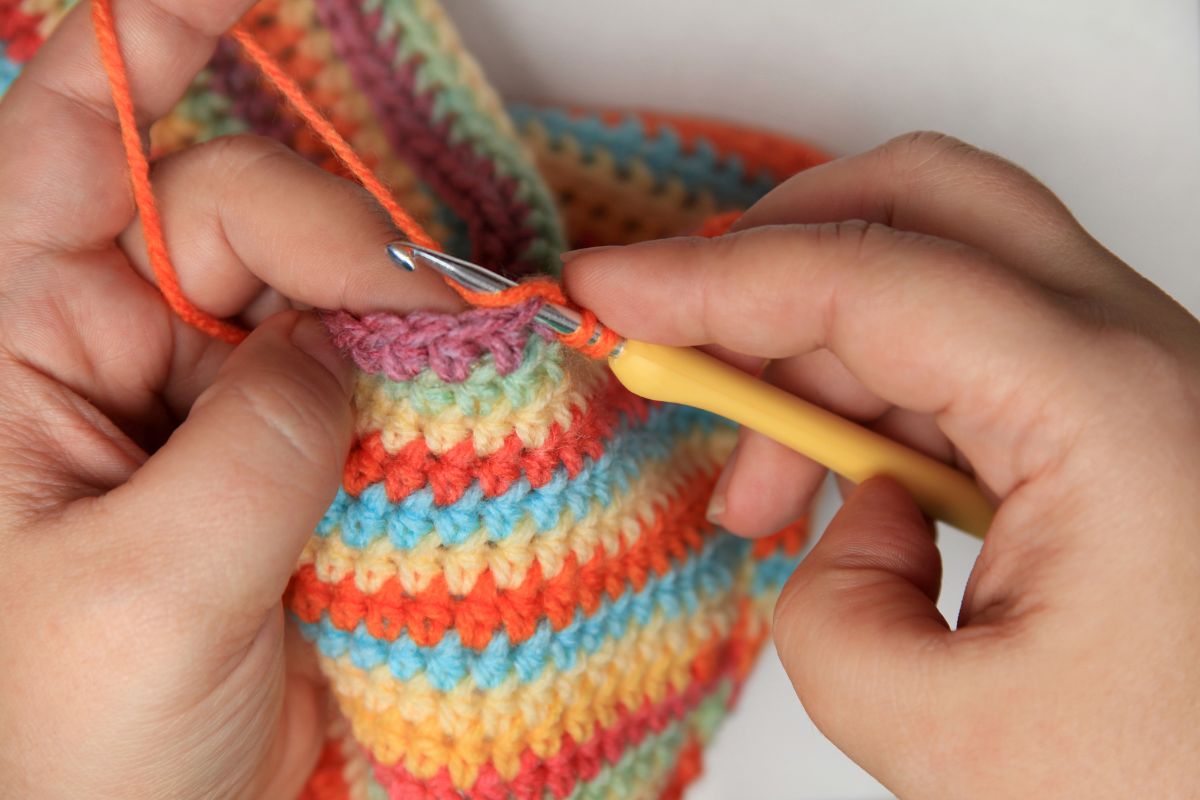
Take your yarn and leave a tail that is around 6 inches long. Loop it around your crochet hook with the tail looping over the top of your working yarn.
Now, you will make your foundation row by chaining. You can chain as many stitches as you like to get the correct size triangle for your project.
However, for this pattern and guide, we will be using a 16-stitch chain as our foundation.
Making The Triangle’s Body
Start by chaining 16.
Skip 2 chains and start with your first row of single crochets, working into the foundation chain.
Skipping 2 chains on the foundation row will cause your work to have neat, sharp edges which are perfect for a triangle so make sure you skip 2 chains and not just 1 like with other regular projects.
Once your row is finished, tug on the tail to help tighten your work up so it’s nice and neat.
Chain 1 and turn your work. Skip the first chain (the last single crochet of the first row) and work another row of single crochets until you get to the first single crochet of the previous row.
You will notice that here, you will also have the first two chains of the foundation row too.
Here, you single crochet two together to decrease one stitch. You will want to work in the single crochet from row 1, and the turning chain from the foundation row.
Once that is done, you will have a neat sharp corner for your triangle. To do this, insert your hook into the last single crochet, yarn over, and pull up.
Insert your hook into the top chain, yarn over, and pull up so you have three loops. Insert your hook into the bottom chain, yarn over, and pull through to complete.
From this point on, you have to follow the same steps until you reach the third and final point of your triangle.
Each row is made from single crochets. Start by chaining 1, skip the first single crochet, and start working across the row until you come to the final crochet of the last row and the turning chain.
Single crochet two together again, looping together all three. Chain 1 and start the next row, and keep repeating.
This pattern will continually decrease one stitch per row so it gradually gets narrower.
Once there are no more single crochets left to add, you just single-crochet two together with the chain for the final row and the chain for the row below. This will create the final sharp point for your triangle.
Blocking Your Triangle
You will now notice that your triangle’s points will curl inwards. To stop this, you will need to block your triangle so it will lie flat.
Cut the tail yarn and tie it off. Using a yarn needle, weave in the tail end for seaming around the edges of your triangle.
With the starting tail, work it into a yarn needle and insert the needle through all the stitches in the foundation chain row. Pull the yarn through and cut off any excess.
And you are done!
How To Crochet A Triangle Border
If you want a triangle-shaped border around a project, you don’t need to make lots of individual triangles and then join them to your project. You can make a triangle-shaped border directly onto your project!
To crochet, a triangle-shaped border around the edge of your projects (like shawls or blankets), start with an edge that has a few rows of single crochets.
Starting at the very corner of your project, chain 1 to start your border.
Work a single crochet into the next chain and then skip two stitches. Then, work a double crochet into the stitch. Then, into the seam stitch, work another double crochet.
Chain 1 and working around the post of the last double crochet (this basically means inserting your hook through the gap between the two double crochets), work two single crochets.
Anchor the triangle back to the project with one final single crochet. This will leave you with the first little triangle on your border!
To make your second triangle, yarn over and skip the next three stitches in the border so you have plenty of room to work. Then, start the pattern again with a single crochet into that third stitch.
Skip two stitches, work the two double crochets into the next two stitches, chain 1, work around the last double crochet, and add two single crochets.
Anchor the triangle with a single crochet back to the foundation row.
Repeat this pattern all the way around your border until you come back to your original triangle. You will then have a beautiful triangle-shaped border all around your project.
This method is much quicker and easier than making individual triangles and crocheting them onto the project’s border!
Final Thoughts
So, crocheting triangles is super easy and they work great when combined together to make different patterned projects.
They can also be used to make triangle-shaped borders although the above border method is much quicker and easier.
We hope this crocheting guide has helped you learn how to crochet a triangle. All that is left for you to do is grab your yarn and hook, and start practicing! Good luck!
Crochet is one of the most calming and therapeutic crafts out there. It’s a simple dance of stitches, working in rounds, and forgetting the outside world as you create something beautiful.
Hi, my name is Nancy Adriane and I have been crocheting in my free time for almost 10 years.
I first picked up a hook when I was studying in college, stressed and frustrated with the pressures put on me by people around me. The workload got too much, and I desperately needed an outlet.
I tried everything – socializing, cooking, watching TV… nothing helped with the stress. I was too anxious to read a good book and quickly lost hope of keeping on track for the school year.
Enter, crochet. I fell in love as soon as I saw my holey, bobbly hat that I made on a whim. It was too loose to be warm, but I wore that hat every day the entire winter until I learned to make something of higher quality.


")

")
")
")

")