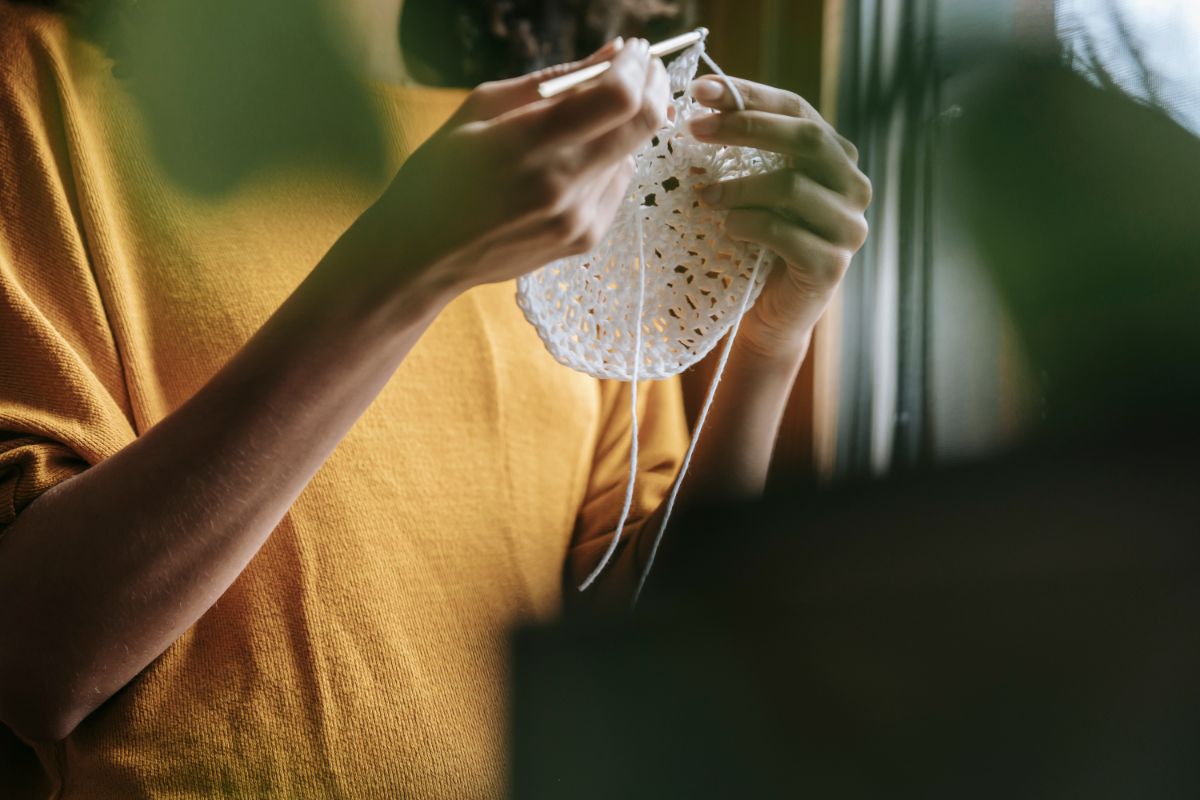
Being left handed can be tough, especially when you are learning how to crochet. Most guides are designed to teach how to crochet right handed – but what if you are left handed?
Well, here’s a great guide on how to crochet left handed!
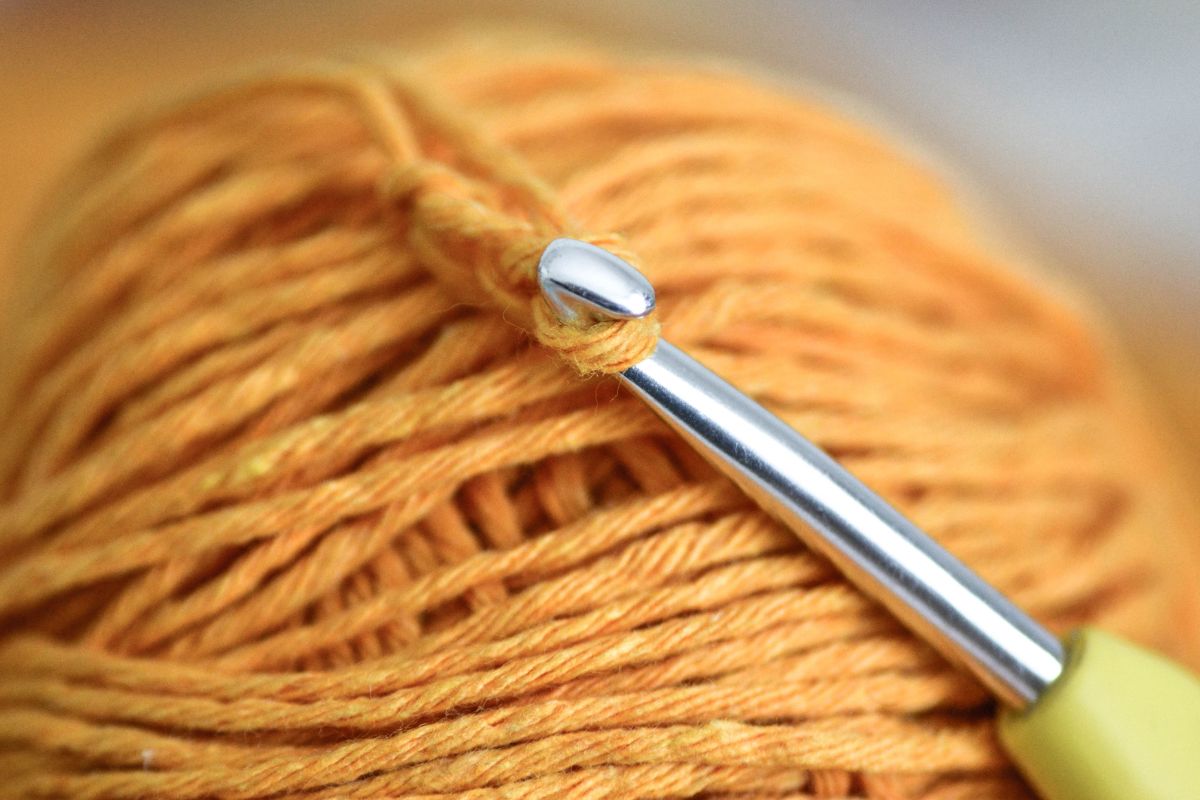
Check out the steps below so you can learn the basics of crocheting left handed along with some great tips and tricks.
How To Crochet Left Handed
Most left handed crochet guides will tell you to just mirror the right handed methods without really explaining how you should move your hand and hold your hook – so check out the information below for a more in-depth explanation of how to crochet left handed.
How To Hold Your Hook And Yarn
When holding your hook, you have two different hand placements you can try.
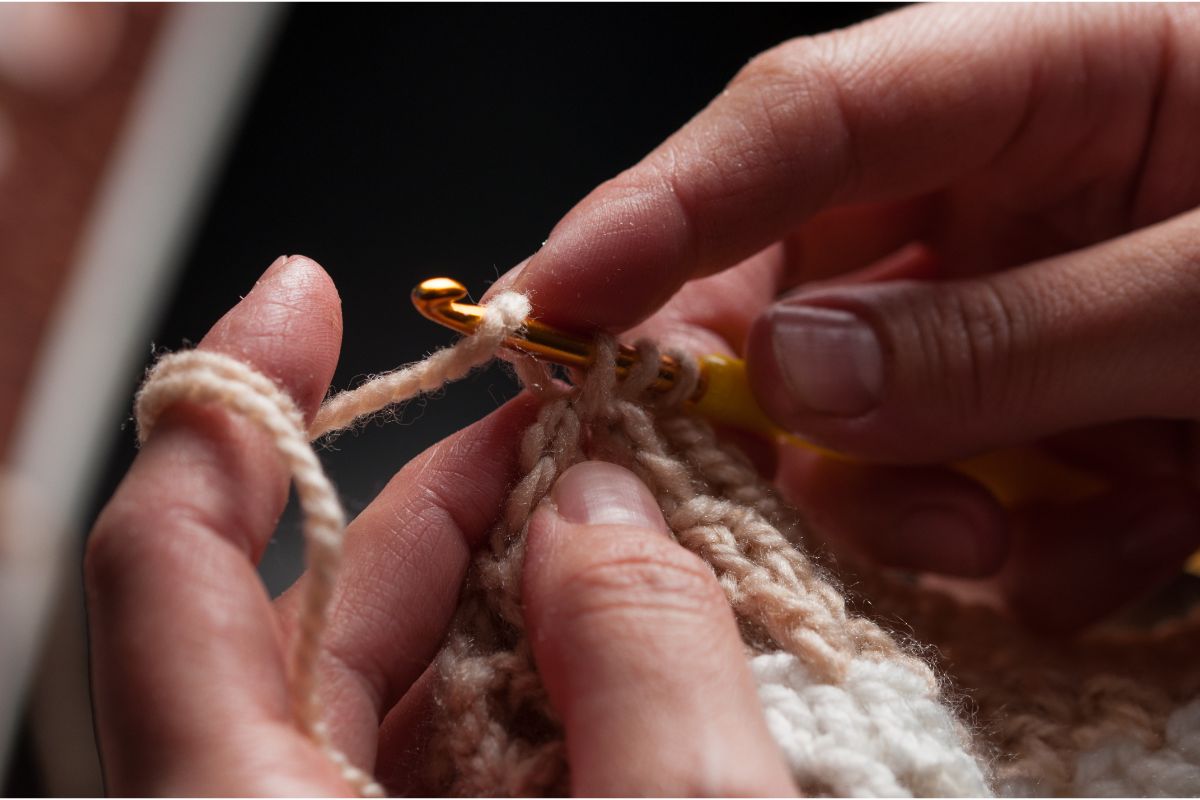
The first is holding your hook just like how you hold your dinner five with your index finger and thumb set around a third of the way down your hook.
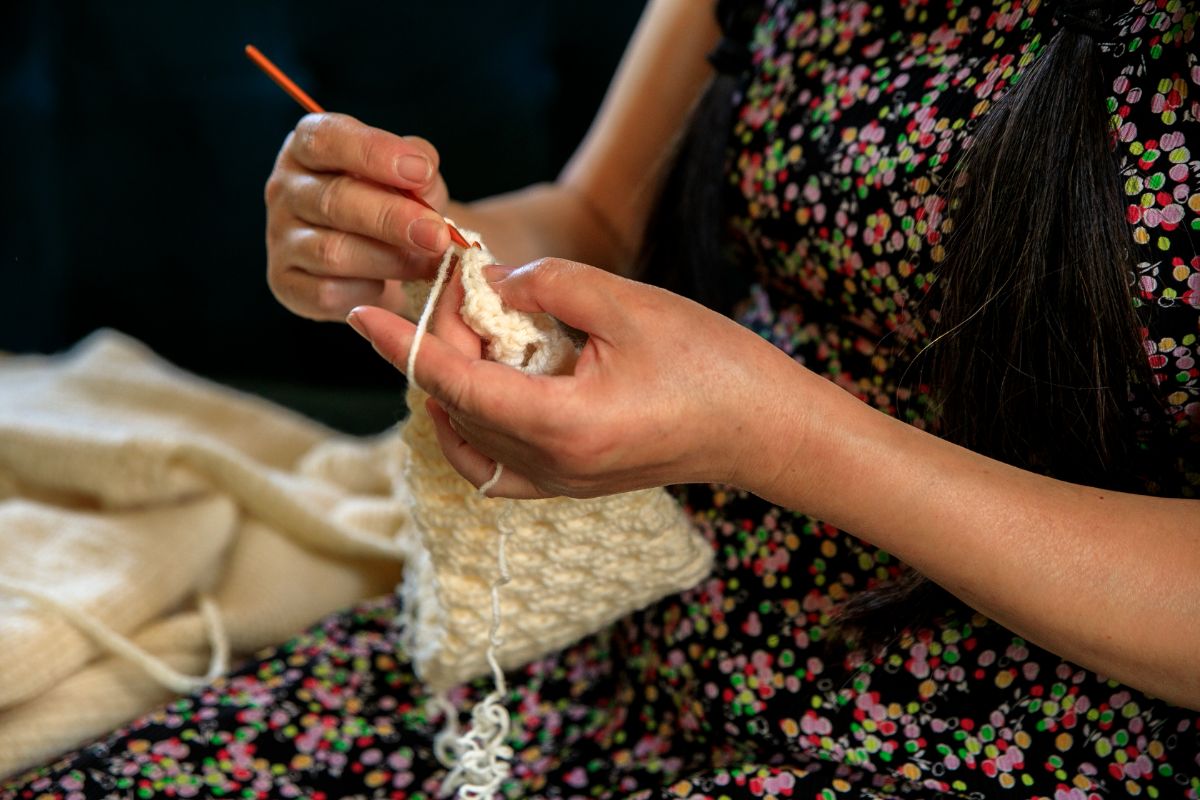
The rest of the hook is set in the palm of your hand. The other method is to hold your hook like how you hold a pencil or pen.
The bottom of your hook rests against the side of your index finger. Both methods work fine and which one you should use is down to your personal preference and comfort.
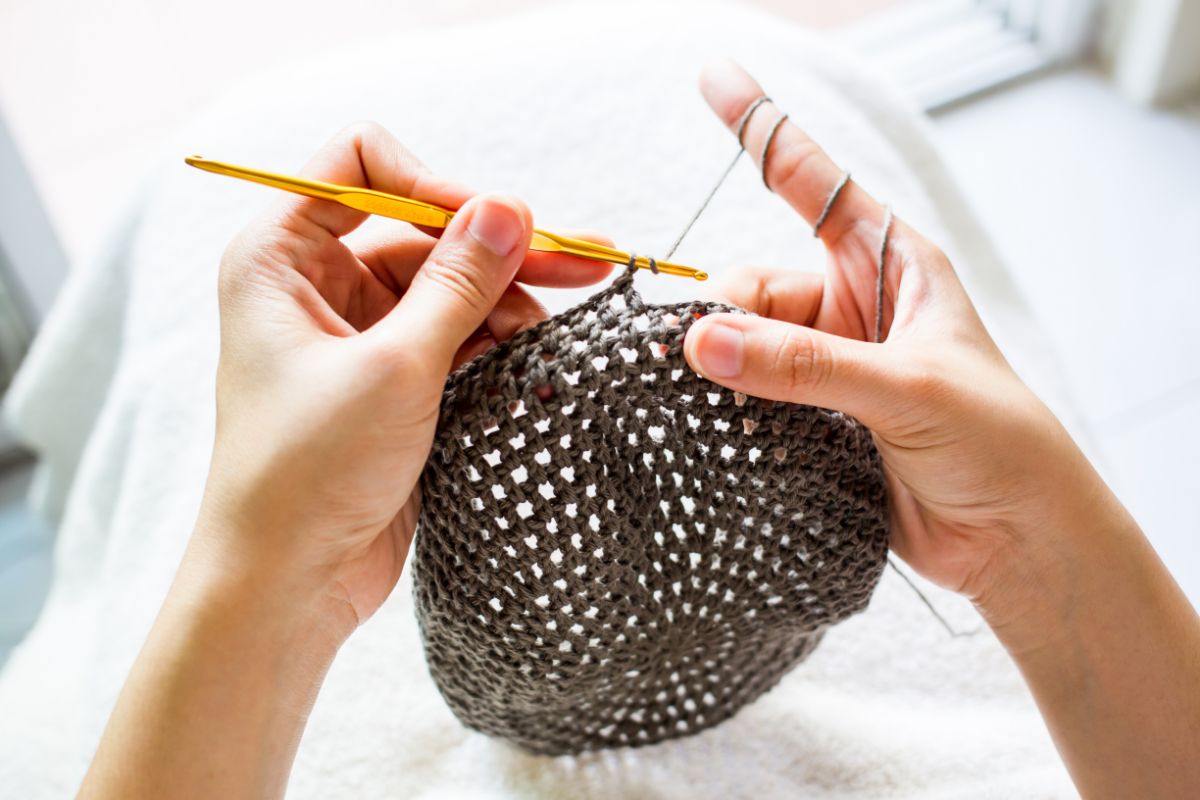
As for holding your yarn, there are many different ways you can choose from. The classic way to hold your yarn is to place it in the right hand and wrap it over your index finger.
Your thumb and middle finger pull the yarn taut – and this is where your hook starts to get to work.
As you practice your crocheting more and more, you will eventually find the best ways to hold your hook and yarn.
It all comes down to what feels most comfortable for you – so don’t stress about not holding your hook or yarn the ‘right’ way because there isn’t one!
How To Make A Slip Knot
The slip knot is important to get right because it is what most patterns use to get started. Making a slip knot is really easy, even when you are left handed.
Take 4 to 5 inches of unworked yarn and wrap the yarn loosely around your index finger once, crossing it over itself.
Then, when you pull the yarn off your index finger, it will almost look like a pretzel. Tuck the yarn under the loop and pull it tight – this will create a slip knot.
Insert the hook into the slip knot and pull the yarn end to tighten it.
How To Chain Left Handed
Chaining is an important technique that most patterns use to make a foundation for your crochet.
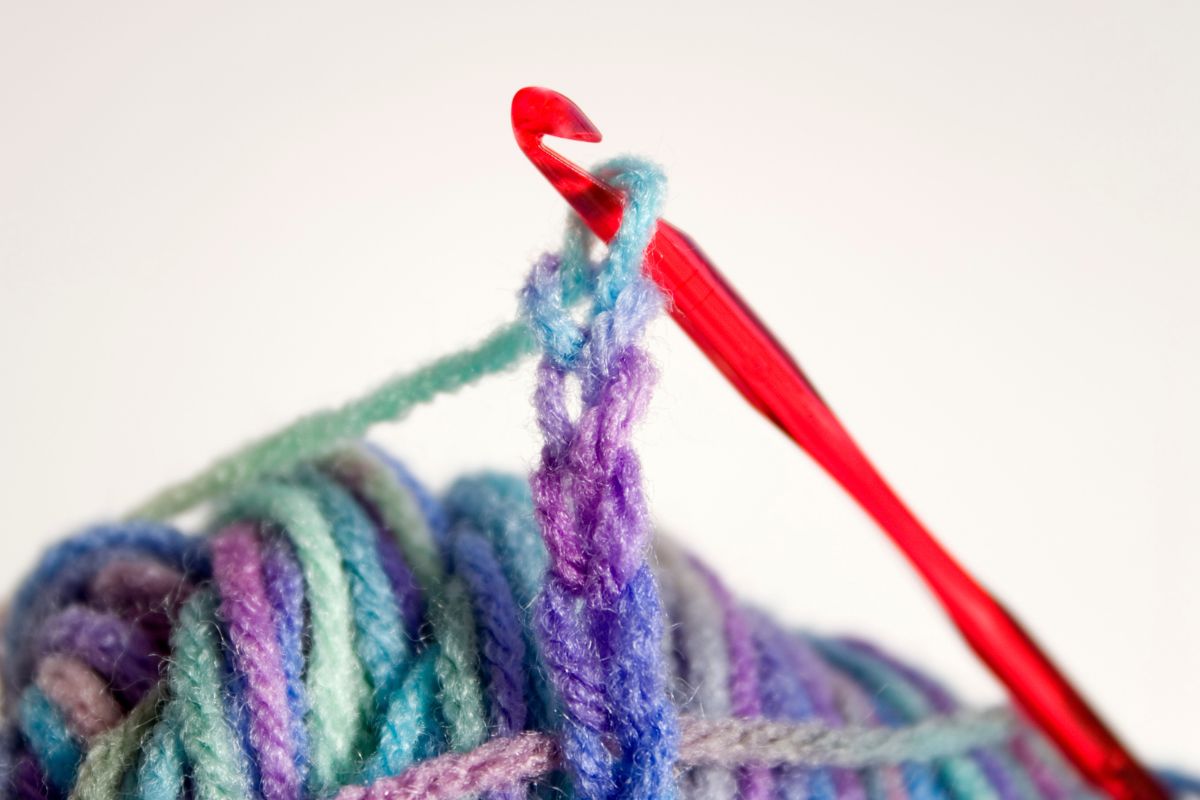
To start, make your slip knot and insert your hook into it and tighten it. Holding your yarn in your other hand, it’s time to yarn over.
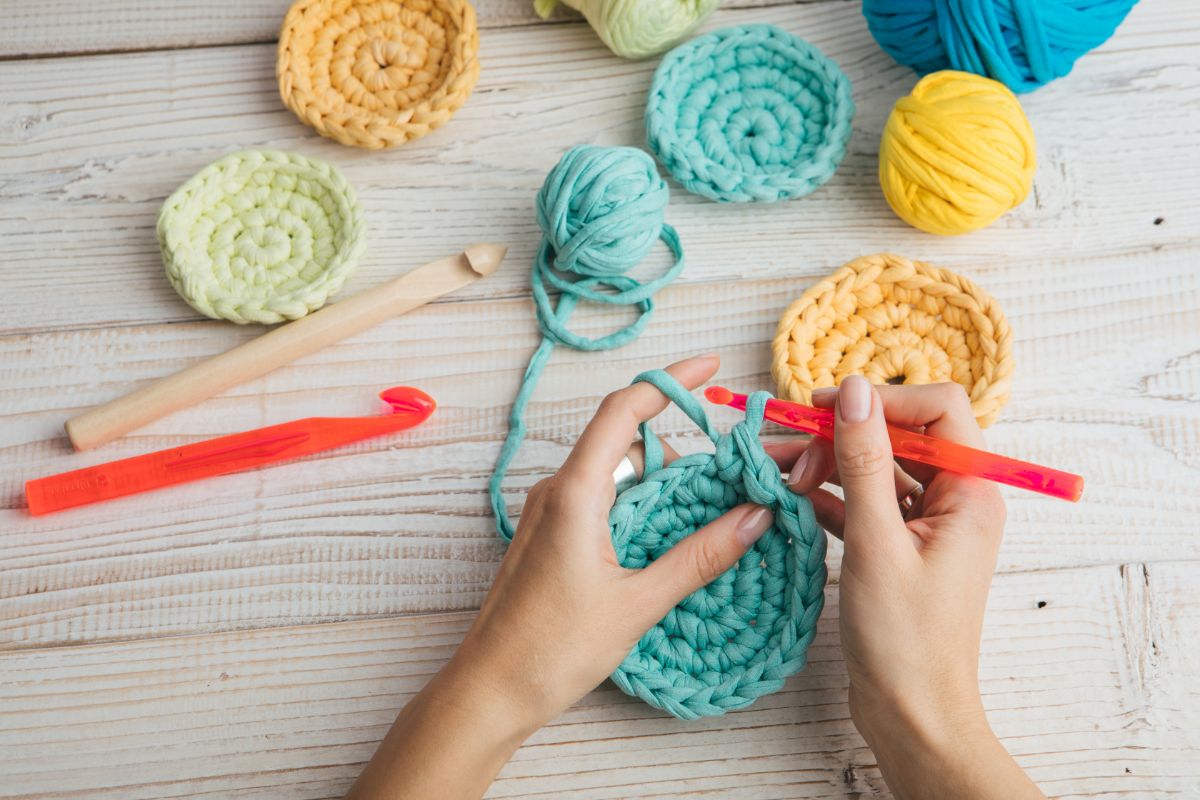
To do this, place the hook downward against the yarn so it can wrap over and the hook can catch it as you pull the yarn through the loop already on the hook to create your first chain.
Repeat the process to make as many chains as you like – keeping in mind that your slipknot doesn’t count as a chain.
How To Single Crochet Left Handed
The single crochet is one of the most basic stitches in crocheting so they are one you must master.
Prepare your hands again to hold your yarn. On your chain, skip the first chain (some other types of crochet skip two or three but your pattern will direct you here) and insert your hook into the second chain through its center hole.
Then, wrap your yarn over the hook and pull it through. This will give you two loops on your hook. Yarn over again and pull the yarn through both loops. This will give you a single crochet.
Repeat the process using the next link in your row and continue until you have done a single crochet for each chain in the foundation row.
How To Row Two Left Handed
Once you have added a single crochet to your foundation row, it’s time to add another row on top of your single crochets.
When you come to the end of your row, add a chain one to elevate your work. Remember to skip the first chain and add your single crochet to the last single crochet of the row below.
Continue your single crochets for the row. To add another row, just make another chain one and repeat the steps.
How To Finish Your Crochet Left Handed
Once you have done all the rows and stitches you desire, it’s time to finish your work. Cut the yarn that is attached to the yarn ball, around 8 inches away from your work to make your tail end.
Take your crochet work, add a final chain one and pull the tail end through. Tug on it to tighten it up.
Take a yarn needle and feed the tail through the eye. Sew the remaining yarn into the final row to weave the yarn into the work. Clip off any excess yarn after a few stitches and you are done.
In Summary
Crocheting left handed is really easy because a lot of the steps stay the same even though you have swapped which hand you are holding the hook and yarn with.
Steps like yarning over and making a slip knot works the exact same way so you don’t have to worry about yarning under instead of over – just carry on with your crochet as usual!
The only big difference is that you are holding the hook in your left hand and the yarn in your right.
Other than that, you don’t have to do anything differently so you can easily follow patterns even if they are designed for people who are right handed.
We hope this guide has given you some confidence and encouragement for your future crocheting projects!
- 8 Unique Ways To Crochet Letters (Monogram Crochet Inspiration!) - January 16, 2023
- Here’s How To Crochet A Flower (Easy Beginner’s Guide) - January 16, 2023
- 10 Impressive Crochet Sunflower Patterns That Are Easy To Make - January 16, 2023

