You know how kids always go through those little phases where they are obsessed with things? Well, my little nephew has been going through a pretty hard-core frog phase. It’s frogs anything and everything right now, nothing else will do.
His birthday was last week, and I wanted to make him something special and I thought, what could be better than a crocheted frog? There’s a sentence I didn’t expect to say.
But it turned out amazingly well. It was so adorable and he was and still is absolutely besotted by it.
And that got me thinking. I thought there are probably a whole bunch of frog lovers out there just dying to make their own crocheted (see also: How To Crochet A Bee)little frog friend. So I thought I’d walk you through it.
Let’s hop to it! (I’m sorry I’m clearly a crocheter, not a comedian.)
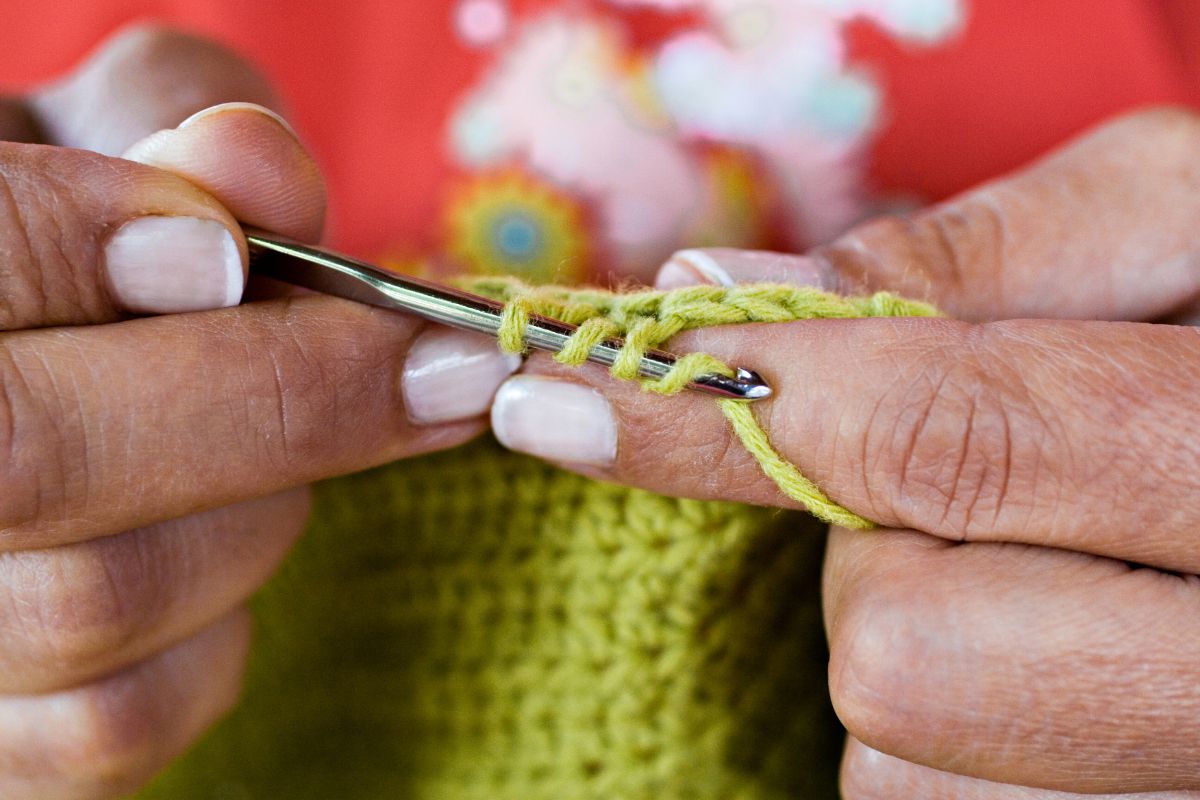
What You’ll Need To Get Started
Okay, so let’s start off with a little checklist of all the things you’ll need before you start.
When that is done you can then fasten it off using a slip stitch. Just ensure that you leave a long tail coming from the eye as you’ll need it to connect it to your frog’s body.
Then when you’ve completed your frog’s eye, you’ll need to attach the 6mm safety eye to give your frog an iris. You’ll want to place this in between your second and third rows.
And yay! Just like that, you have frog eyes!
2. Make The Arms & Legs
Sticking with your green yarn, you’ll now want to follow the instructions below.
Row 1. Magic circle with 5 sc stitches (5)
Row 2. Sc x 5 (5)
Row 3. Sc x 5 (5)
Just like with the eyes, you can then fasten off with a slip stitch but don’t forget to leave out that long tail so that it can be sewn onto the frog’s body.
3. Body
Continuing with your green yarn, you’ll then follow the instructions below to create the body of your frog.
Row 1. Magic circle with 6 sc stitches (6)
Row 2. Inc x 6 (12)
Row 3. [sc, inc] x 6 (18)
Row 4. [sc x 2, inc] x 6 (24)
Row 5. [sc x 3, inc] x 6 (30)
Row 6. Sc x 30 (30)
Row 7. Sc x 30 (30)
Row 8. Sc x 30 (30)
Row 9. Sc x 30 (30)
Row 10. Sc x 30 (30)
Once you’ve done this, you should have half a frog body.
4. Adding A Mouth To The Body
To give your froggy that cute and adorable smile, you’ll need your yarn needle and the black thread. To create it, follow the instructions below:
Insert – Pop your needle up through your frog’s body in the center of the 4th row.
One Stitch Over – Then you’ll want to insert the needle into the body again one stitch over.
U Shape – You’ll then want to pull through until you see a U-shaped loop form. This is going to be the mouth of your frog so ensure the shape is exactly as you’d like it.
Sew In Place – Next you’ll secure the mouth by sewing it in place. Insert your needle up through the body and ensure that it is centered at the top of the middle of the U-shape.
Finish – You’ll then pull the needle and thread through and then insert the needle back down the body of your frog ensuring it;s at the bottom of the U-shape now. Fasten off your thread and trim any loose ends and you’ve got yourself a smiling frog!
5. Finish The Body
Then with your green yarn again, you’ll finish of the body using the following instructions:
Row 11. Sc x 30 (30)
Row 12. [Sc x 3, dec] x 6 (24)
Row 13. [Sc x 2, dec] x 6 (18)
Row 14. [Sc, dec] x 6 (12)
Then you’ll want to ensure that the body is stuffed to the brim with the fiberfill stuffing before finishing it off with the final row.
Row 15. Dec x 6 (6)
Once that is done you can sew the hole closed, and then I would recommend weaving the ends.
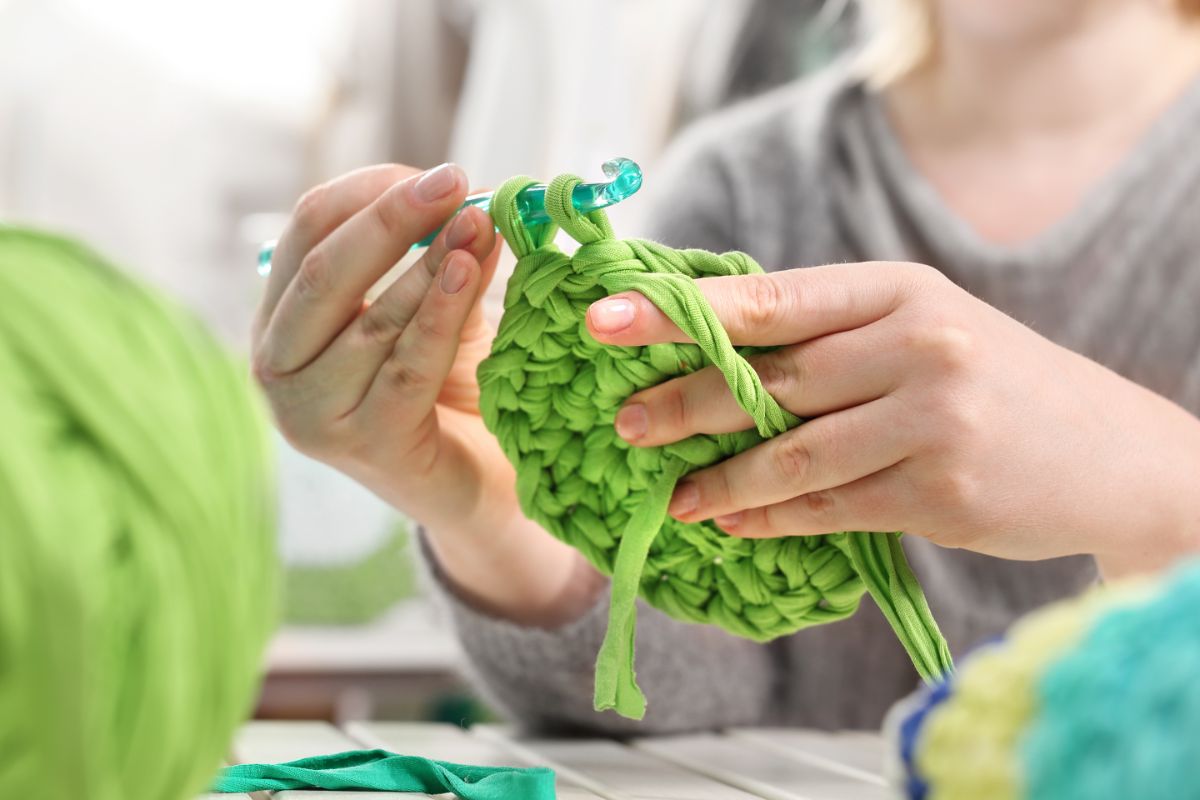
6. Sew All The Parts Together
Now, you can give your fingers a good old stretch as all the hard work is over. You’re done crocheting and all that is left to do is sew all the body parts together.
To do so, you’ll want to secure the body parts to the body with a sewing pin and ensure that the proportions all look correct. Once you’re happy with your placement, you can get to sewing.
Use the yarn tails to help you sew them to the body and then trim as needed.
Final Thoughts
And as simple and easy as that, you’ve made your very own adorable froggy friend. Do have patience with this project especially if you are new to crocheting as it can be a little fiddly at times, but overall you should find it pretty easy to recreate yourself.
It’ll definitely be worth it once you’ve finished your project though. There is nothing more gratifying than holding something in your hands and knowing that it wouldn’t exist if it wasn’t for you. You did that. You made it.
So give yourself a pat on the back, be proud of yourself, and then if you’re anything like me, instantly start looking for inspiration for your next project!
Crochet is one of the most calming and therapeutic crafts out there. It’s a simple dance of stitches, working in rounds, and forgetting the outside world as you create something beautiful.
Hi, my name is Nancy Adriane and I have been crocheting in my free time for almost 10 years.
I first picked up a hook when I was studying in college, stressed and frustrated with the pressures put on me by people around me. The workload got too much, and I desperately needed an outlet.
I tried everything – socializing, cooking, watching TV… nothing helped with the stress. I was too anxious to read a good book and quickly lost hope of keeping on track for the school year.
Enter, crochet. I fell in love as soon as I saw my holey, bobbly hat that I made on a whim. It was too loose to be warm, but I wore that hat every day the entire winter until I learned to make something of higher quality.


")
