When it comes to crochet, one of the first things you need to learn is how to tie a slip knot. There are many different skills you need to learn when crocheting but a slip knot is one of the most important.
This type of knot is fundamental to everything you do when making a crochet project. Without this basic skill, you won’t even be able to get started. Luckily for you, creating a slip knot isn’t too difficult.
It may seem confusing at first but as soon as you know how, tying the knot becomes so much easier. The fact you’ve stumbled across this guide would suggest you want to learn how to tie a slip knot.
If you do, you’re in the right place. In this guide, we’ll tell you what a slip knot is, how to tie one, and anything else you need to know. Let’s get started, shall we?
What Is A Slip Knot?
If you’re just starting to learn how to crochet, you’ll quickly come to realize that almost every crochet pattern starts with a slip knot. A slip knot is a type of knot we use to attach the yarn to the crochet hook.
This type of knot is made by tying a loop in your yarn. The loop is then attached to a crochet hook and tightened. There are multiple ways to tie a slip knot, some of them easy and some of them more confusing.
In this guide, we’ll be taking a look at the easiest methods we can use to tie a slip knot.
Why Is It Important To Learn The Slip Knot?
The biggest reason why it’s important to learn how to tie a slip knot is that it’s the first knot needed to start virtually any crochet project. Without it, you’ll find it much harder to get your crochet project going.
Not only does this type of knot start your project off, but it also sets the rhythm and motion going for the rest of your project. Once you’ve made the knot, you can move on to making chain stitches.
This type of knot is also an excellent knot for beginners to learn as it will help you get started.
Is The Slip Knot A Type Of Stitch?
Despite what some people think, it’s important to remember that the slip knot isn’t a type of stitch. Bearing this in mind, you should never count it when counting your chains at the end of the starting chain.
It’s also important that you don’t work into the slip knot when starting a chain.
What Are Chain Stitches?
For those of you that don’t know, chain stitches are a popular type of stitch that is used in most crochet projects. They are commonly referred to as foundation stitches.
Almost every single more complex stitch is built upon a chain stitch blueprint.
If you want to add impressive stitches to your crochet arsenal, you’ll need a comprehensive understanding of the chain stitch. This all starts with the slip knot.
What’s The Purpose Of The Slip Knot In Chain Stitches?
As is the case with most knots, the slip knots’ main purpose in chain stitches is to hold everything together in place. When it comes to a chain stitch, slip knots are responsible for keeping the stitches in place.
Without it, the chain would unravel itself. You will find the odd exception here and there but for most projects, you’ll need a slip knot before you hook your yarn and start the project.
How To Tie A Slip Knot?
Now you know more about what a slip knot is and why it’s important, we can start looking at how you tie one. For this, we’re going to show you the two easiest ways we know.
These methods of tying are perfect for anyone that wants to tie a slip knot for the first time.
We’ll look at a basic slip-knot-tying method and the quickest slip-knot method. First, though, let’s look at what you need.
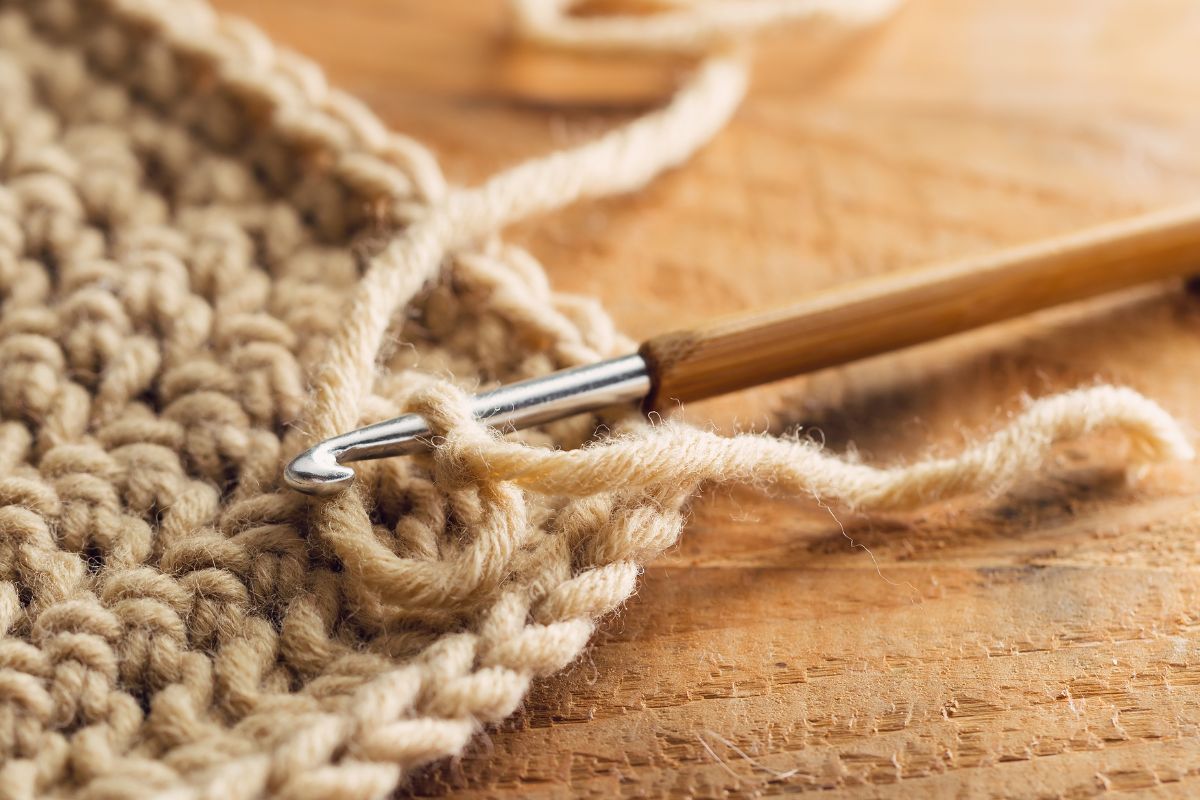
What Do You Need To Tie A Slip Knot?
All you need to tie a slip knot is a crochet hook and some yarn. The crochet hook you use should be an appropriate size for the yarn.
When it comes to the yarn, we recommend pulling a length from the yarn ball. You can lay this on the table.
It could be useful to remember that the part of your yarn that leads to the ball of yarn is the “ball end”, and the other end is known as the “tail end”.
Once you have these two things, you can tie a slip knot. We’ll start by showing you the most common way to tie this knot.
Basic Slip Knot Tying Method
The first slip-knot-tying method we have for you shows you how to make a slip knot by laying your yarn on a flat table. Follow the steps below to easily tie your first slip knot.
Pull a good length of yarn from your yarn ball. We’ll make the knot approximately six inches away from the yarn ball’s tail end. This will give you enough yarn to weave it later.
You should now make a loop by crossing the yarn ball over and on top of the tail end.
In the center of the loop, insert your crochet hook. Do this from the front to the back. After that, use your crochet hook to grab the ball end and pull it through your loop.
To tighten the loop around your hook, pull both ends of your yarn. The loop should be nice and tight but also still loose enough to move up and down the hook. Make sure you have a six-inch yarn tail for later on.
That’s it, your slip knot is finished and ready for your project. To begin making your chain stitches, pinch the bottom of the slip knot between your middle finger and thumb on your left hand.
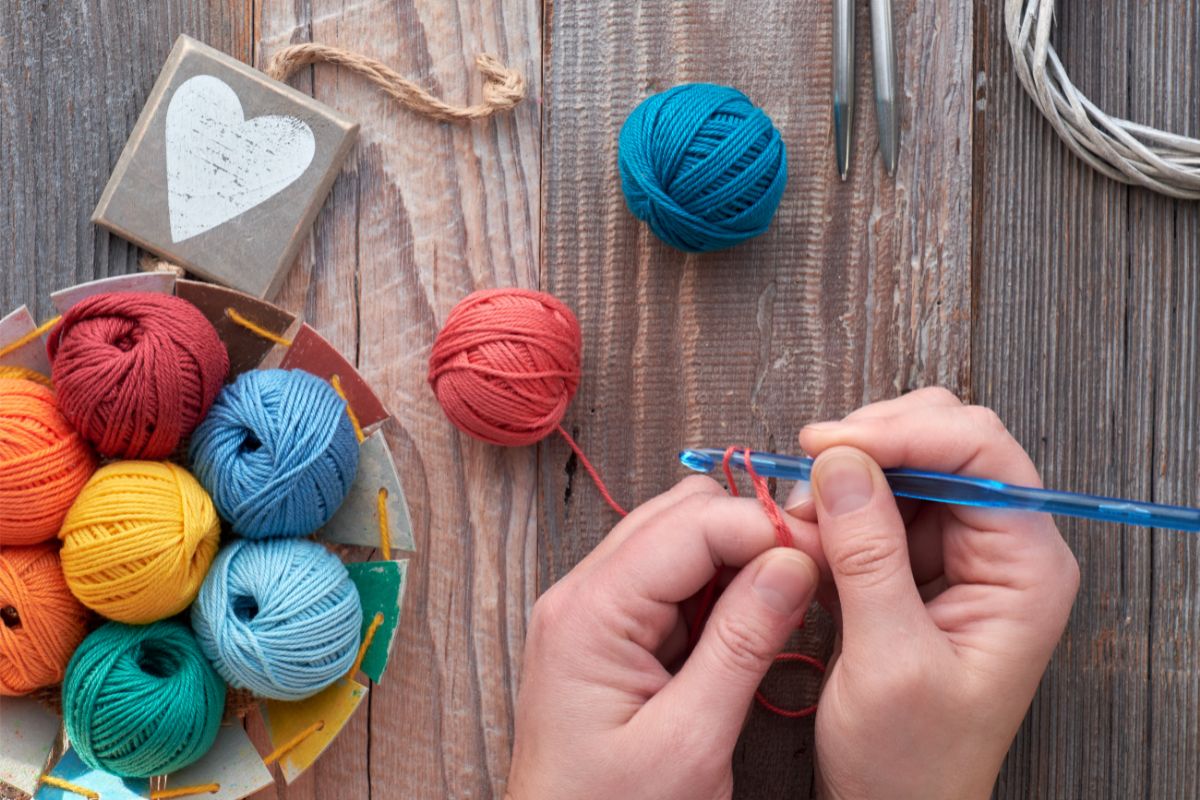
The Fast Way To Tie A Slip Knot
If you’re looking for a faster way to tie a slip knot, we recommend following the next tying method we have for you.
This slip knot-tying method will show you how to make a slip knot by holding your yarn in the air and making the knot using your fingers.
Again, follow the steps below to tie a slip knot using this method.
To start, pull a length of yarn from your yarn ball. Keep the yarn’s ball end in your left hand and the yarn’s tail end in your right hand. Again leave roughly six inches so that you have plenty of yarn to weave later.
Cross the tail end of your yarn in front of the ball end to create a loop.
Using your left hand, squeeze your yarn where it overlaps. With the tail end of your yarn in your right hand, move the tail end behind your loop.
Push the fingers on your right hand through your loop, squeeze the yarn’s tail end, and pull it through your loop.
Now, using your left hand, tighten the yarn by pulling on the ball end before then slipping the knot onto a crochet hook. Tighten the yarn by pulling its tail end.
Your slip knot is now complete. You’re ready to start your crocheting project.
Final Thoughts
That concludes this guide that tells you everything you need to know about the slip knot. In this guide, we’ve told you what a slip knot is, why it’s important, and how to tie one.
We’ve shown you two of the best ways to tie a slip knot quickly and easily.
The methods on our list are perfect for beginners who have never tied a slip knot before. Now you have this guide at your fingertips, you should find your yarn and crochet hook and try the two methods we’ve shown you.
In no time, you’ll be able to tie a slip knot with success.
Crochet is one of the most calming and therapeutic crafts out there. It’s a simple dance of stitches, working in rounds, and forgetting the outside world as you create something beautiful.
Hi, my name is Nancy Adriane and I have been crocheting in my free time for almost 10 years.
I first picked up a hook when I was studying in college, stressed and frustrated with the pressures put on me by people around me. The workload got too much, and I desperately needed an outlet.
I tried everything – socializing, cooking, watching TV… nothing helped with the stress. I was too anxious to read a good book and quickly lost hope of keeping on track for the school year.
Enter, crochet. I fell in love as soon as I saw my holey, bobbly hat that I made on a whim. It was too loose to be warm, but I wore that hat every day the entire winter until I learned to make something of higher quality.


")
")


