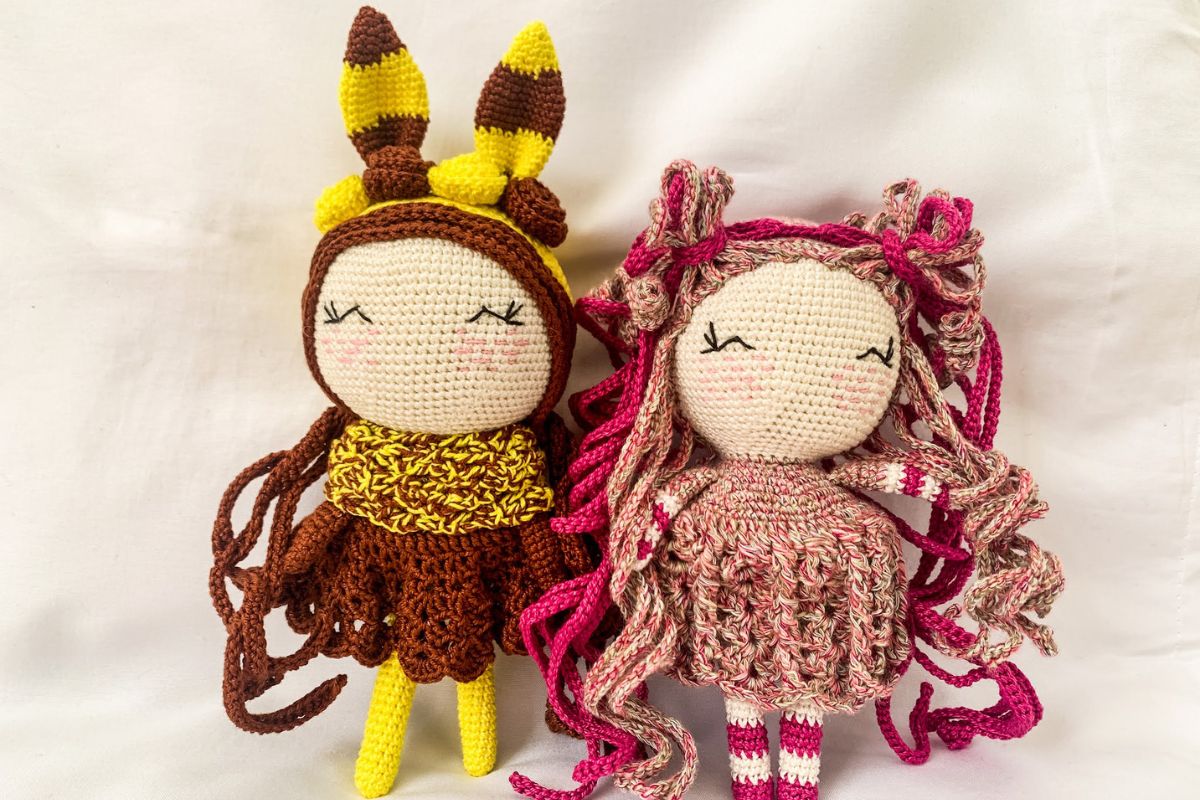
Are you ready to create the most adorable cutest crochet bee that ever did exist? Of course you are! There is just something about crocheted animals that hold a place near and dear to my heart.
And after making this buzzing little bee, I’m sure you’ll feel the exact same.
And what’s great is that this bumblebee is so easy to make that you’ll be done with it in no time. You could create a whole hive in a day if you were feeling up to it!
So shall we get straight to it? I think we should!
Bumblebee Yarn Choice
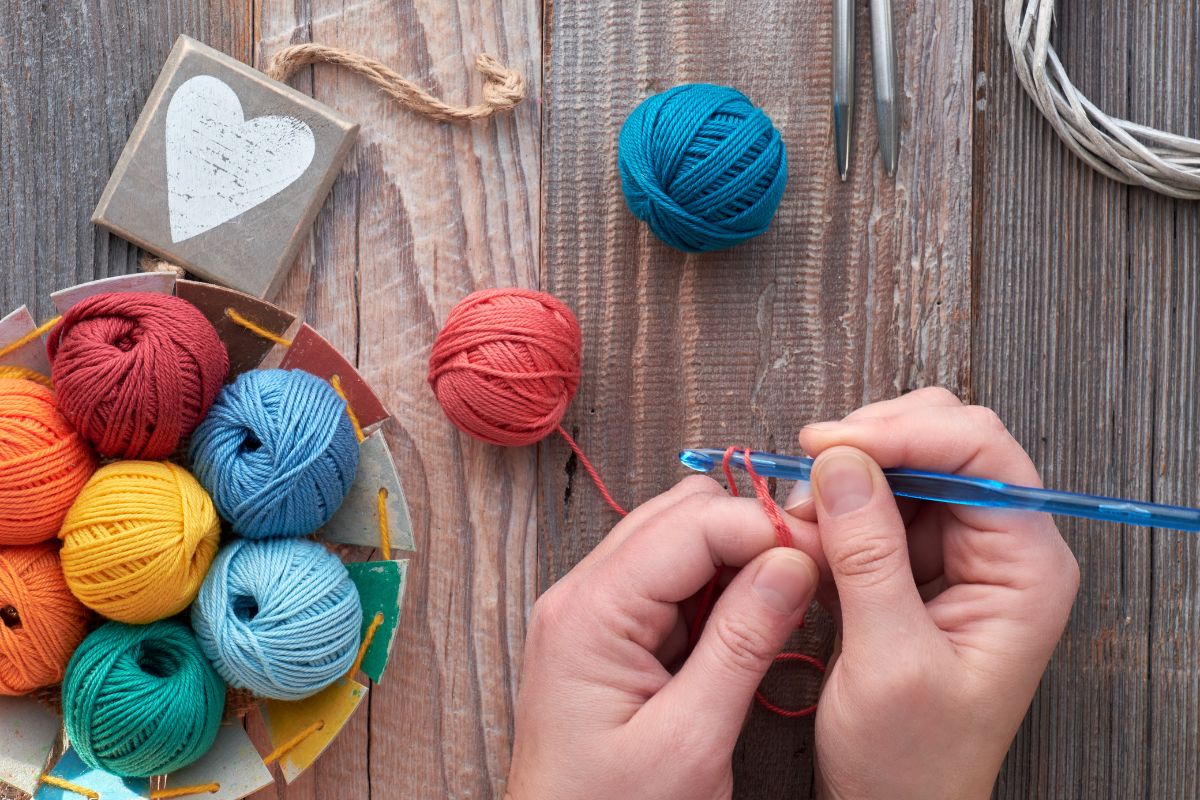
So, I thought I’d take the time to do a little overview of the project. The first thing I’ll say is that you’ll want to pick your yarn wisely. I made my bee using cotton yarn, but worsted-weight yarn or acrylic would work perfectly fine too.
If you want a slightly smaller bee, at the minute it’s big enough to fit in your hand, then crochet thread would definitely work to make it more miniature.
Contrastingly, if you want a big bumblebee then you can use chunky yarn or a jumbo-sized chenille yarn.
Whichever yarn you use, it will be important to remember that you use the correct crochet hook that is appropriate for your yarn size.
And if you do upscale your bee, don’t forget that you’ll also need bigger safety eyes, more yarn, and extra fiberfill stuffing to keep the proportions correct.
Before We Begin
A last note from me before we jump straight into it, this pattern involves beginning with a magic ring and then uses fairly basic stitches such as chain stitch, single crochet stitch, and double crochet stitch.
However, to get those perfect seamless stripes for your bee, you’ll need to be able to effectively do a jogless join and single crochet invisible decrease.
If you haven’t tried those before, don’t worry, today is the perfect time to learn. However, your bee may not be as neat and tidy for those who are learning.
What You’ll Need
US G6/4mm Crochet Hook
¼ oz Of Yellow, Black, And Ivory Yarn
6mm Safety Eyes
Tapestry Needle
Scissors
Making Your Bumblebee
1. Bumblebee Body
Using your yellow yarn, make a magic ring.
R1. 6 x sc into ring (6 sts)
R2. 2 x sc in ea st around (12 st)
R3. *sc in next st, 2 sc in next st, repeat from * around (18 st)
R4-5. sc around (18 st)
Change to black yarn during last st of R5
R6-7. sc around.
Change back to yellow yarn during last st of R7
R8-11. sc around (18 st)
Change back to black yarn during last st of R11
R12. sc around (18 st)
Once this is done, you can then add your safety eyes to the body. You want to insert these in between rows 2 and 3. There should be around 7 stitches between each eye.
Once your bee has eyes, you can also stuff its body with some of the stuffing. Continue to do this as you finish the bee’s body.
R13. *sc in next st, sc next 2 st together. Repeat from * around (12)
R14. sc next 2 st together (6)
R15. sc next 2 st together (3)
Once this is done you can fasten (see also: How To Fasten Off Crochet)off but make sure that you leave a long tail for sewing.
You’ll also want to ensure that the bee is very firmly stuffed with the fiberfill and then thread the yarn end onto your tapestry needle. You can then weave the opening closed and fasten it off and weave in the end.
2. Bumblebee Antennae
For this section, you’ll want your black yarn. You’ll then chain 10. Once done, you can fasten off making sure that you leave a long tail again.
Then with the tail, take the end and tie a knot at the very end of the chain. You can then pull it tight and cut the yarn close to the knot. On the end without the knot, pull through the head and the fiberfill.
You’ll need to pull out enough so that it obviously looks like there are two antennae sticking out of the bee’s head.
You want there to be around 3 stitches between each antenna and they should line up with the eyes of your bee too.
When you’re happy with the placement, you can then make a knot close to the opposite end of the chain and cut the yarn close.
3. Wings (Make 2)
Using ivory yarn crochet a magic ring
R1. Work the following inside of the magic ring – sc, hdc, dc, 3 tr, dc, hdc, sc.
Cut the yarn ensuring you leave some length for sewing.
Using an invisible join, then attach the end and the beginning of the wing together.
Weave in the end to make the joint nice and secure.
Sew the win onto the top of your bee’s body.
Frequently Asked Questions
How Long Does It Take To Make A Crochet Bee?
They’re pretty simple and easy projects to execute, so one cute crochet bumblebee should take you no more than 20-30 minutes.
Is A Crochet Bee Easy To Make?
Yes! There really isn’t all that much to create a crocheted bee and this pattern is definitely beginner friendly.
What Are The Easiest Animals To Crochet?
There are tons of easy animals to crochet but I would say the following are the easiest; hippos, jellyfish, cats, lambs, bees, bats, and hamsters. So definitely give those a go too.
How Do You Wash A Crochet Bee?
It’ll depend on the yarn that has been used, but typically, you can either hand wash or machine wash them. If you do machine wash, just ensure you use a gentle cycle and cold water.
Final Thoughts
And just like that you’ve made your very own crocheted bumble bee. Pretty easy, right? And how absolutely adorable is it? It makes my heart hurt! If you’d like a printable version of this bee pattern you can find it here.
I hope that you enjoy making this little cutie as much as I did!
Crochet is one of the most calming and therapeutic crafts out there. It’s a simple dance of stitches, working in rounds, and forgetting the outside world as you create something beautiful.
Hi, my name is Nancy Adriane and I have been crocheting in my free time for almost 10 years.
I first picked up a hook when I was studying in college, stressed and frustrated with the pressures put on me by people around me. The workload got too much, and I desperately needed an outlet.
I tried everything – socializing, cooking, watching TV… nothing helped with the stress. I was too anxious to read a good book and quickly lost hope of keeping on track for the school year.
Enter, crochet. I fell in love as soon as I saw my holey, bobbly hat that I made on a whim. It was too loose to be warm, but I wore that hat every day the entire winter until I learned to make something of higher quality.


")

")
")


