Love to crochet in the round but hate the hole that gets trapped in the center? With this magic circle tutorial for crochet, you can eliminate that central hole and create delightful pieces in the round.
There are a few different names for the magic circle. It’s sometimes referred to as the magic ring or the adjustable ring, but it always works in the same way.
By starting your first round of stitches on a loop, you can adjust the size of your inner circle and even remove it altogether.
The magic circle doesn’t use actual magic, but the results are nearly as impressive. In this guide, we’ll introduce you to the magic circle, and talk you through how to make your own.
What Is The Magic Circle For Crochet?
The magic circle is a crochet trick for projects that are created in the round. Normally when making something in the round, there’s a hole left at the bottom.
The magic circle method eliminates that small hole, so you have a better finish to your crafting project.
This magic circle starts as a loop of yarn. As you work in the round, stitches are added to this loop. When the row of stitches is finished, you pull on one end of your loop. The circle tightens, and your hole disappears. Just like magic!
Why Use The Magic Circle Technique?
The main advantage of the magic circle technique is that it eliminates the small hole often left when crocheting in the round.
While this hole typically isn’t a major problem, it can affect the final finish of the work. Where you want a clean line, you instead have a space.
But there are times when the hole can cause issues. For example, if you’re making clothing or a bag, the hole could affect the overall structure.
It will often look like an error, even though it’s part of the design. The magic circle is a method for getting rid of that hole.
But why choose the magic circle over other techniques?
First, the magic circle is really easy to master. Even if you’re new to crochet, you should be able to pick up the magic circle in no time at all.
It is a little fiddly at first, but once you’ve had a few goes, you should be able to incorporate this technique into multiple patterns.
That’s the second reason for choosing the magic circle: it’s versatile. You can use the magic circle for granny squares and amigurumi, as well as any time you’re starting a flat circle.
Because the basics of the magic circle are simple, it can be incorporated into many designs.
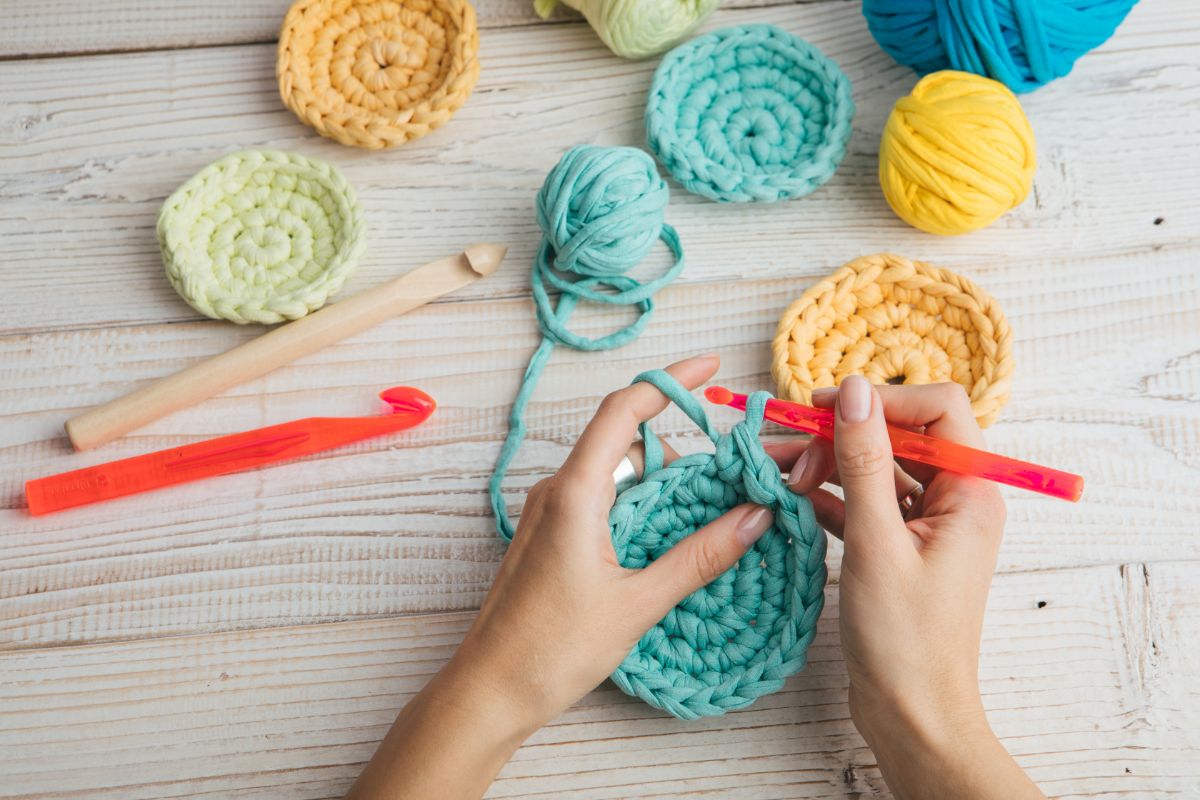
Magic Circle Tutorial For Crochet
This tutorial is for right-handed crochet. If you’re left-handed, you need to flip the instructions.
Make A Loop With The Yarn
Begin by creating a loop with the yarn. The yarn coming from the skein (working yarn) should pass over the loose end of the yarn (starting yarn tail) when forming the circle.
Keep the yarn tail pointing downwards when creating your magic circle.
You can create this loop using your fingers, or by laying the yarn flat on the table. If you’re new to crocheting, experiment to find a method that works for you.
In this guide, we’ll primarily focus on using your hand to create the magic circle. Both methods are very similar, so you can adapt our guide to suit your preference.
To make the loop with your hand, place the skein on the table. Hold the end of the yarn in your left hand, with several inches of starting yarn tail hanging down on the left.
Loop the working yarn around the end of your index, middle, and ring finger. Cross the working yarn over the tail end, so it’s pointing away from you and to the left.
The two strands should form an “X”. Hold the intersecting yarns in place with your thumb.
Create A Loop With The Hook
Hold your crochet hook in your right hand. Turn your left hand so that the palm faces down, making sure to hold the yarn into place with your thumb.
Slide your crochet hook under the piece of yarn to the right, and over the piece of yarn to the left. Grab the yarn to the left with the hook, and pull it upwards while rotating the hook towards you. This will form a loop.
You can now move the circle of yarn off your fingers, and it should hold together. Keep track of the tail end of your yarn, as you’ll need it later.
Create The First Chain
Hold the yarn circle with your left hand. You will now start your chain stitches. To do this, wrap the working yarn over the hook from front to back.
Pull the yarn through the loop you‘ve created on the hook. This is the first chain. Patterns don’t count the first chain as a stitch, so don’t include it when counting your stitches.
If you’re using a pattern with single crochet stitches, this initial chain stitch is all you’ll need. However, if you’re using half double crochet, you’ll need to add another chain, for two chain stitches in total.
If your pattern starts with double crochet stitches, you’ll need to add two chains to the initial stitch, for three chain stitches in total.
Create Your First Stitch
You’re now ready to start stitching into your magic circle. To do this, begin by inserting the hook into the middle of your circle.
You’ll start your first single crochet by drawing up a loop, and you’ll need to crochet over both the strand and the tail.
Yarn over, and draw the yarn through both of the loops on your hook. This is the first single crochet stitch in your circle.
Your initial circle should feel relatively secure at this point, but the loose end is still liable to pull free. Avoid tugging on it as you work, so your circle won’t shift or fall apart.
Continue To Stitch Into The Ring
Now you need to create as many stitches as required by your pattern. Follow the same method as before, making sure you don’t tug on the tail end.
At this point, your magic circle might be looking a little too open. This is nothing to worry about, as we’ll deal with it in the next step.
Only make as many stitches as the pattern tells you to. This is typically 6 stitches, but patterns can vary.
Close Your Circle
This is the step where you get to see the magic of the magic circle at work. Hold your crochet stitches with the fingers of your right hand.
Hold the yarn tail with your left hand. Gently pull on the yarn tail to draw the stitches together, and close the center of the ring.
The circle should close like a drawstring bag, with the turning chain and your final stitch coming together.
Join The Round With A Slip Stitch
Now that you’ve closed the hole, use a slip stitch to join the round. Make sure you’re stitching into the first stitch of your round, and not into the initial chain stitch. You can now continue with your pattern.
Only use a slip stitch if you’re working with joined rounds, If the pattern is worked with a continuous spiral, you don’t need a slip stitch. Instead, start the next round using the first stitch of round one.
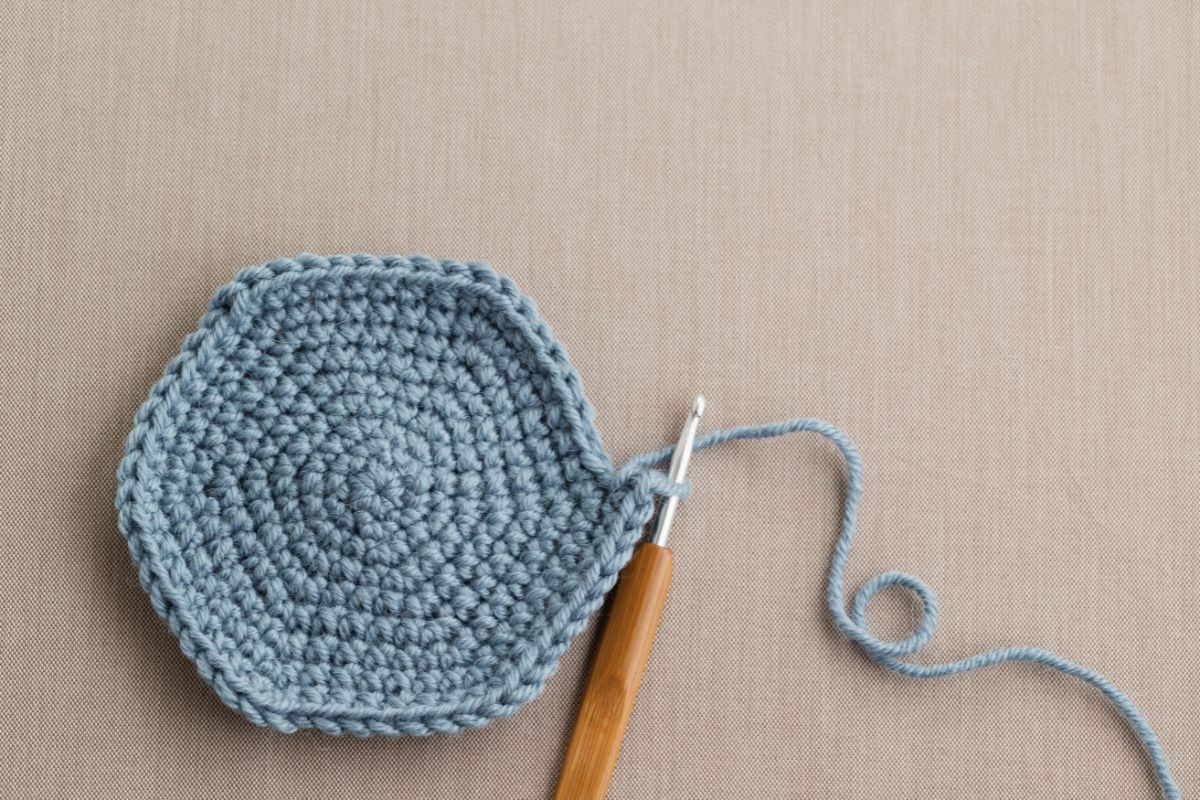
Finish The Circle
You can close the circle completely by pulling on the tail end tightly. However, as you work, the hole might slowly start to come loose.
Don’t panic, as this is easy to fix. Simply give the tail another pull, and the circle should close again.
Finish the circle by weaving in the ends. At this point, it should stay securely closed, and you’ll have created a crochet circle without a central hole!
How Is The Magic Circle Written Into Patterns?
Many patterns that use the “in the round” technique will instruct you to start with a magic circle. This is sometimes abbreviated to MC.
The magic circle is also sometimes referred to as the magic ring and abbreviated to MR.
A pattern that requires you to start with a magic circle might say: work 6 sc in magic circle. Or: work 6 sc in mc.
Replacing Chain Stitches With The Magic Circle
The magic circle is often used as a starting point for various in the round crochet projects, and it’s typically written into the pattern. However, older patterns might use the chain stitch ring method.
Chain stitch circles are a traditional way to start crochet patterns, but they do leave a hole. Most of the time, the chain stitch method can be quickly replaced with the magic circle.
Chain stitches typically involve stitching several chains, then using either a slip stitch to start the round, or using single crochet stitches in the second chain.
In both cases, you can replace the chain stitches with the magic ring. Then, simply follow the pattern as you would before.
Common Magic Circle Problems
The magic circle is a relatively simple method, but that doesn’t mean it can’t go wrong.
Why Is There Still A Hole In The Center?
Despite what the name suggests, the magic circle isn’t actually miraculous, and a hole might still occur. There are a few reasons for this:
You’ve used too many stitches in the first round. If there are too many stitches, the hole won’t be able to close completely.
The circle has worked loose while you worked, and you need to tighten the end before securing it.
The fibers of your yarn don’t compress well. The only way to solve this is to switch to a different yarn, but most yarns should compress tight enough to leave only a small gap.
You’ve made an error with the magic circle. It happens! Keep practicing, and you can avoid this next time.
Why Is My Magic Circle Unraveling?
If your magic circle has started unraveling, the yarn tail has probably worked loose. You should try and leave at least 6 inches of yarn as the tail of any project.
For a magic circle, try pulling the yarn to tighten the hole back up, before weaving in the tail.
Can Beginners Use The Magic Circle?
Yes, the magic circle is suitable for beginners! It’s a very easy method to master once you understand the basics of crochet.
If you’ve had success creating things using the in the round method with a traditional start, you shouldn’t struggle to insert the magic circle into patterns.
Final Thoughts
The magic circle allows you to create circular crochet projects without that central hole that is otherwise impossible to avoid.
The magic circle is suitable for beginners, so once you have some experience with crochet, give the magic circle a go!
Crochet is one of the most calming and therapeutic crafts out there. It’s a simple dance of stitches, working in rounds, and forgetting the outside world as you create something beautiful.
Hi, my name is Nancy Adriane and I have been crocheting in my free time for almost 10 years.
I first picked up a hook when I was studying in college, stressed and frustrated with the pressures put on me by people around me. The workload got too much, and I desperately needed an outlet.
I tried everything – socializing, cooking, watching TV… nothing helped with the stress. I was too anxious to read a good book and quickly lost hope of keeping on track for the school year.
Enter, crochet. I fell in love as soon as I saw my holey, bobbly hat that I made on a whim. It was too loose to be warm, but I wore that hat every day the entire winter until I learned to make something of higher quality.


")
")


")
")

