In this handy guide, we’ll show you how to weave ends in crochet and what you need to look out for when completing your crochet blanket, granny square, or other crochet items.
But before we get started, let’s find out what weaving in the ends really means and what supplies you need.
What Does “Weaving In The Ends” Mean In Crochet?
Weaving the ends in at the end of your crochet project is simply a technique to secure any loose yarn. This stops your yarn and the entire piece from unraveling in the future.
Plus, weaving ends in also makes your crochet piece look more professional and neat.
While weaving the ends in seems like a laborious process because of all the many loose threads, it’s an essential process to keep your item from unraveling when you wash and wear it.
Basic Supplies You Need To Weave Ends In
There are only two basic things you need for weaving in the ends of your crochet item: a tapestry needle and a finished crochet project.
You can use almost any type of yarn needle, metal, and plastic, small or large, bent-tip or straight-tip.
Just make sure that the eye of your needle is big enough for your yarn to pass through. Plus, keep in mind that large needles may leave holes in delicate crochet items.
How To Weave Ends In Crochet
After you have found your preferred darning needle, you are ready to start weaving your yarn ends in.
Step 1: Leave A 6” Yarn End
When you are done with your last crochet stitch, you can secure the yarn with a slip stitch and then cut it off.
Make sure that you leave at least 6” of yarn. This gives you enough to weave it in easily.
Step 2: Thread The Needle
Take your tapestry needle and thread the yarn through the eye of the needle. Make sure that you pull through enough yarn, so you don’t lose the thread when you are weaving.
Step 3: Work On The Wrong Side Of Your Work
Depending on your crochet pattern, you should always weave ends in on the wrong side of your project.
If you have a crochet piece where both sides will show, then it is important to hide the threads as well as possible.
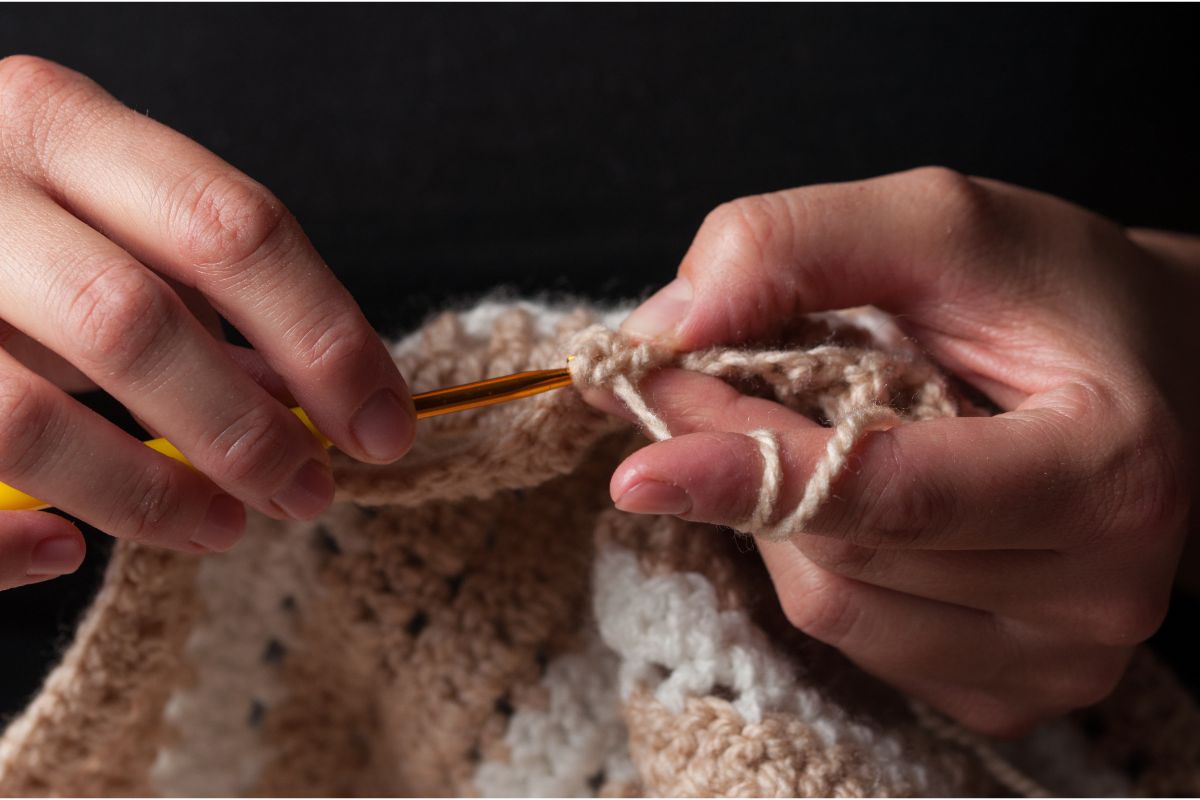
Step 4: Start Weaving
You need to weave the yarn horizontally through the bottom of a stitch and vertically through the post of taller stitches (such as a double crochet stitch).
But to start weaving, you should weave the yarn horizontally through a number of stitches. Ideally, you want to weave through dense stitches, such as single crochets.
This ensures that the thread isn’t visible, making your crochet project look neat.
Step 5: Change The Weaving Direction
Once you have woven your end through some dense stitches, you need to change direction and weave through some stitches vertically.
Then change direction again and sew through a couple of stitches horizontally. Continue to do this until you have sewn in the entire end of your yarn.
Step 6: Cut The Final Yarn Tail
Once you are done with weaving, you need to gently stretch your crochet piece. This will hide the end fully.
If there is a small yarn tail left, then just cut this off with darning scissors.
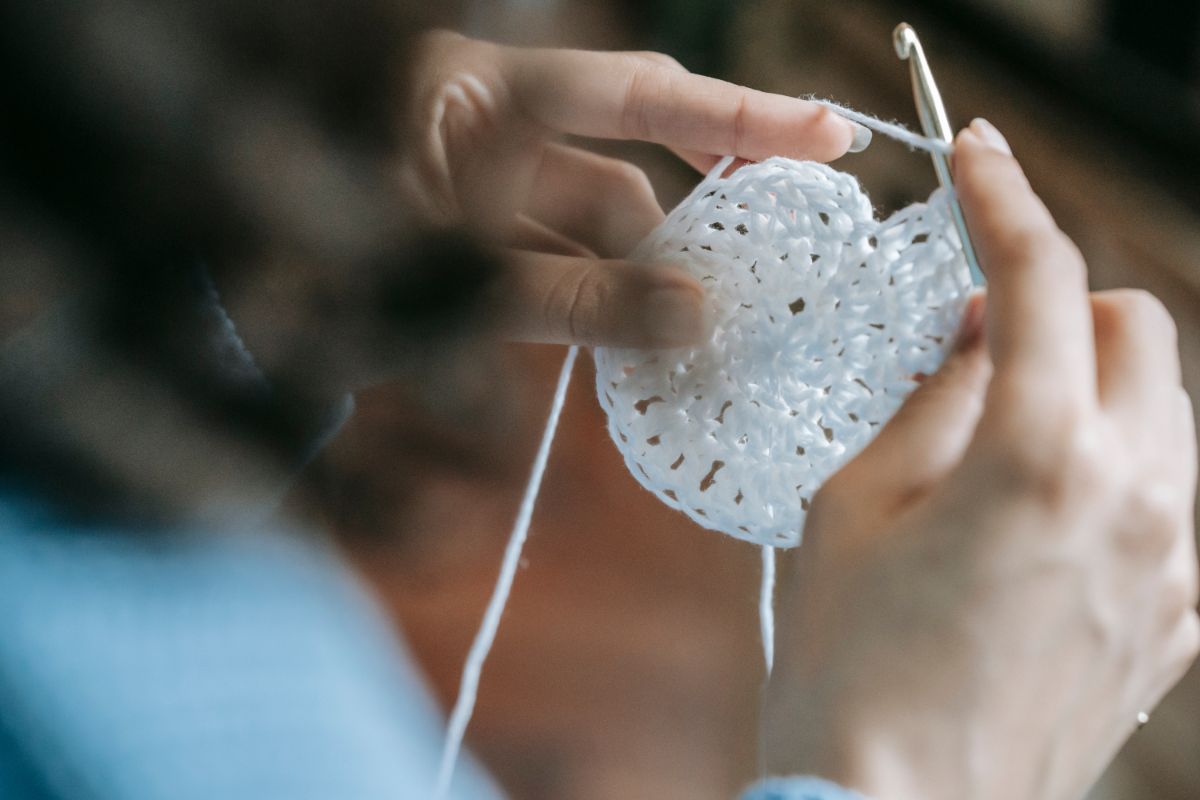
How To Weave Ends In With A Crochet Hook
If you don’t have a tapestry needle at hand, then you can also use your crochet hook to weave the ends in.
Simply use a slightly smaller crochet hook and place it through the stitches where you would move the needle. Then catch the yarn and pull it through the stitches.
This method of weaving in the ends isn’t as easy as working with a darning needle but it still works well for a small crochet project with few loose yarn ends.
How To Weave Ends In With Multiple Colors
If you have a crochet project that uses a number of different colors, then you need to weave in the ends for each individual color.
Just start with one color and weave this color end in first. Make sure that you move the thread only through stitches with the same color.
Once you are done, you can move on to the next color and weave this in, using the same steps as described above.
How To Weave Bulky Yarn
Weaving bulky yarn can be extremely challenging because you need a relatively big needle.
If your yarn is too thick for a standard tapestry needle, then you can either use a crochet hook to weave in the ends or split the yarn into individual strands.
You can then weave in the plies separately. Just keep in mind that this method takes a lot longer than the hook method.
Top Tips On Weaving In Ends
Weaving in the ends of your crochet piece isn’t too difficult but it can be time-consuming. Here are a few time-saving tips.
Weave The Ends In Before Blocking
You should weave any loose yarn ends in before you start seaming or blocking your crochet project. This makes your item look neater.
Don’t Weave The Yarn Too Tightly
While you want your yarn ends to be secure, try not to weave the thread too tightly as this could distort your crochet piece.
Use A Tapestry Needle For Best Results
While you can weave the yarn ends in with your crochet hook, you get the best results with a tapestry needle.
Use A Shorter Yarn End
If you want to save time, then you can keep your yarn tail at the beginning of the weaving process as short as possible.
But ensure that it’s long enough, so you can weave through the stitches several times.
Final Thoughts
We hope this guide on how to weave ends in crochet helps you complete your crochet project faster and enjoy your piece for a long time.
Crochet is one of the most calming and therapeutic crafts out there. It’s a simple dance of stitches, working in rounds, and forgetting the outside world as you create something beautiful.
Hi, my name is Nancy Adriane and I have been crocheting in my free time for almost 10 years.
I first picked up a hook when I was studying in college, stressed and frustrated with the pressures put on me by people around me. The workload got too much, and I desperately needed an outlet.
I tried everything – socializing, cooking, watching TV… nothing helped with the stress. I was too anxious to read a good book and quickly lost hope of keeping on track for the school year.
Enter, crochet. I fell in love as soon as I saw my holey, bobbly hat that I made on a whim. It was too loose to be warm, but I wore that hat every day the entire winter until I learned to make something of higher quality.


")
")
")


")